Drilling into brick without a hammer drill is a daunting task. Thankfully, there are ways of drilling into brick using only power tools and materials you may already have on hand. Though it sounds like a daunting task, it’s not that difficult to accomplish. This article will outline how to drill into brick without a hammer drill.
Mastering Brickwork: Drill with Precision Without a Hammer Drill!
When it comes to household and construction projects, drilling into brick surfaces is often inevitable. However, only some people own a hammer drill, the ideal tool for such a task. Thankfully, there are methods to drill into brick without a hammer drill efficiently. This guide will provide step-by-step instructions and tips to achieve a clean and safe drilling experience.
Necessary Tools and Materials
- Standard Drill: A regular power drill will suffice for this task.
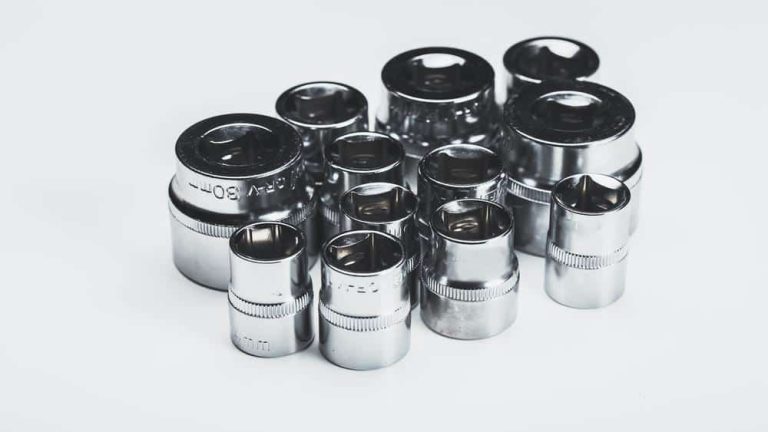
- Masonry Bit: Ensure you choose the appropriate size for your project.
- Masking Tape: To prevent the drill bit from wandering.
- Safety Gear: Safety goggles and gloves.
- Water: To keep the drilling area cool.
Step-by-Step Instructions
Step 1 – Prepare the Drilling Area
Before you begin, ensure the brick surface is clean and free of dust or debris. If necessary, use a brush or cloth to clean the area.
Step 2 – Mark the Drill Point
Using a pencil or chalk, mark the exact point where you want to drill. This will serve as a guide to ensure precision.
Step 3 – Apply Masking Tape
Place a small piece of masking tape over the marked point. This will give the drill bit some traction, preventing it from sliding or wandering.
Step 4 – Safety First
Always wear safety goggles and gloves. Brick dust can be harmful if inhaled or if it comes into contact with your eyes.
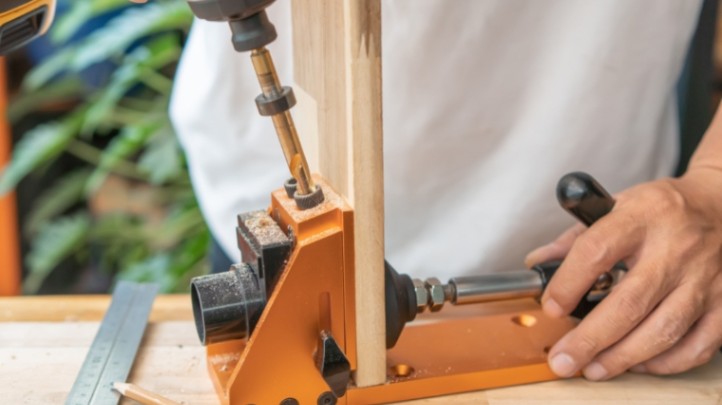
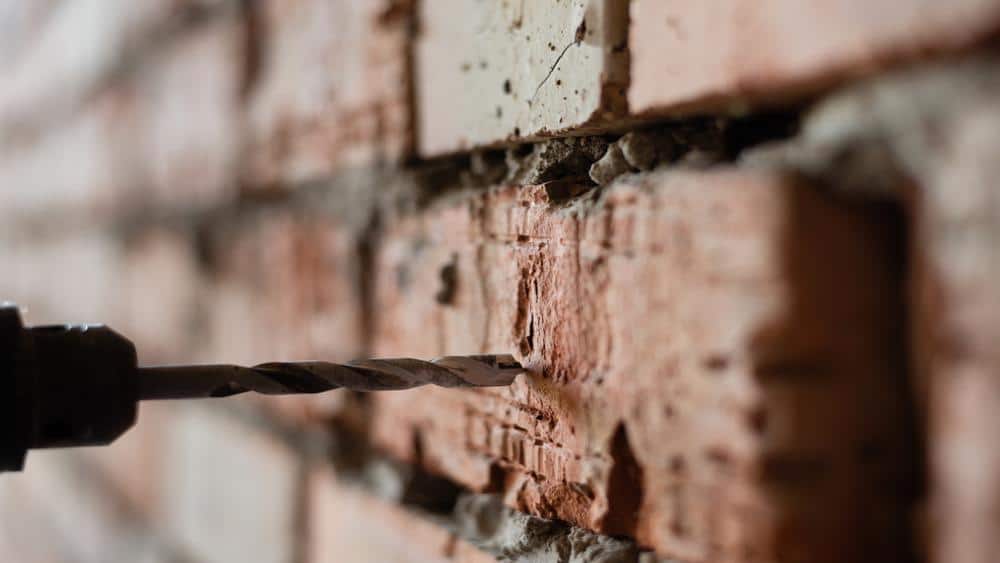
Step 5 – Begin Drilling
- Place the masonry bit into the standard drill.
- Position the bit on the masking tape where you marked your drilling point.
- Start drilling at a low speed to create a pilot hole. This initial hole will guide the rest of the drilling process.
- Once the pilot hole is established, increase the speed slightly but maintain a steady pressure.
Step 6 – Use Water Sparingly
As you drill, the friction will generate heat, which could damage the brick or the bit. Every few seconds, pause and sprinkle a small amount of water on the drilling area to keep it cool.
Step 7 – Final Steps
Once you’ve drilled to the desired depth, remove the masking tape and brush away any residual brick dust.
Tips for Effective Drilling
Embarking on a brick drilling project without a hammer drill requires a blend of the right technique and an understanding of the materials you’re working with. To help navigate this process, here’s a compilation of tips to ensure your drilling endeavors are both effective and safe.
Bit Maintenance
- Regular Inspection: Before and after each use, take a moment to inspect the masonry bit. Check for signs of wear, blunting, or any deformities.
- Proper Storage: Always store your masonry bits in a dry place, away from moisture. Using a bit holder or pouch can protect them from potential damage.
- Clean After Use: Once done with drilling, clean off any brick or mortar debris from the bit. This prevents premature wear and ensures the bit remains effective for future tasks.
- Replace When Needed: Even with optimal care, masonry bits will wear out over time. When a bit becomes too worn or blunt, replace it to maintain optimal drilling efficiency.
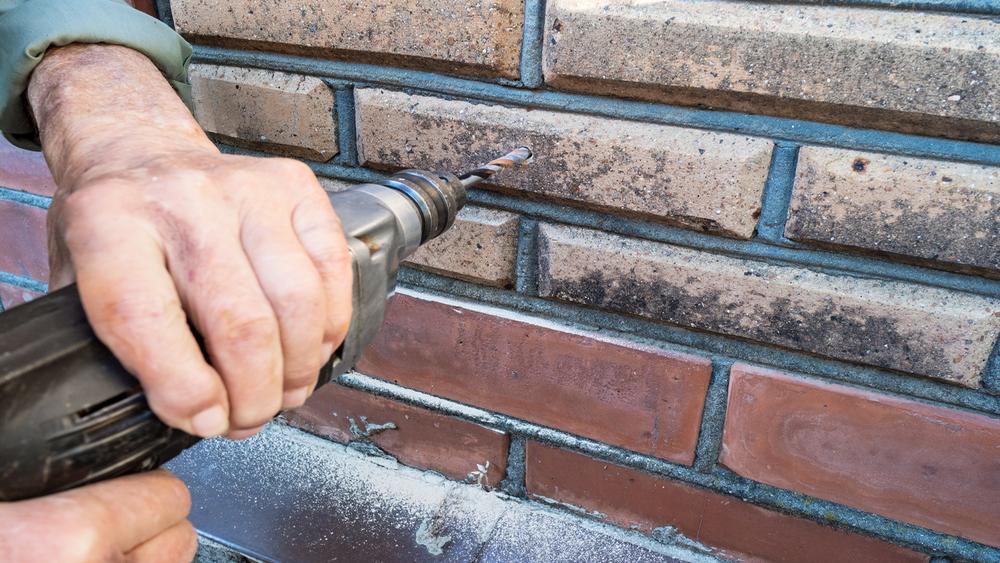
Applying the Right Pressure
- Start Slow: Initiate the drilling at a low speed to create a pilot hole. This serves as a guide and prevents the bit from wandering off the marked point.
- Consistent Pressure: Once the pilot hole is established, maintain a steady but moderate pressure. Too much force can cause breakage or crack the brick.
- Listen to the Drill: If the drill starts to strain or if there’s a change in sound, it might indicate that you’re pushing too hard or that the bit is getting stuck.
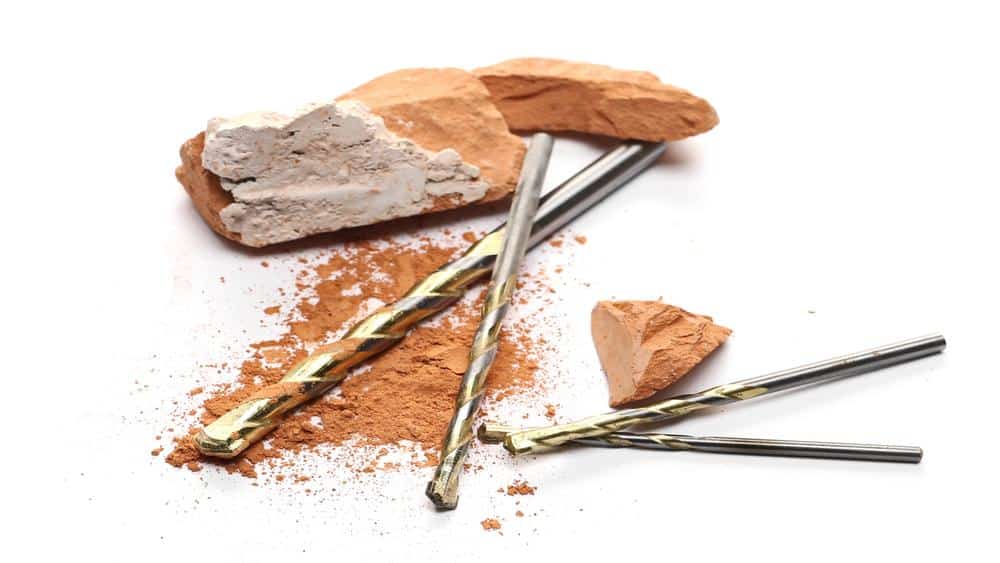
Recognizing Brick Types
Understanding the kind of brick you’re dealing with can greatly influence your drilling approach.
- Clay Bricks: These are traditional bricks and are relatively softer. They might not require as much pressure during drilling, but they can break more easily.
- Concrete Bricks: Typically gray and used mainly for construction rather than aesthetic appeal. They are harder than clay bricks and may demand a bit more effort.
- Fly Ash Clay Bricks: Made from a combination of fly ash, cement, and clay, these bricks are smooth and might require the drill bit to be started at an even slower speed to prevent skidding.
- Engineering Bricks: Known for their strength and water resistance, these bricks are dense and may require more time and patience when drilling.
By integrating these tips into your brick drilling project, not only will the process become more efficient, but the result will also be more polished and professional-looking. The key is to understand your tools the material you’re working with and to approach the task with patience and precision.
Post-Drilling Cleanup and Maintenance
After successfully drilling into brick without a hammer drill, the process continues. Proper post-drilling cleanup and maintenance are crucial not only for aesthetics but also for the longevity of the brick structure and the efficiency of your tools. Here’s a guide on how to wrap up your drilling task effectively:
Cleaning the Drilled Area
- Brush Away Debris: Using a soft-bristle brush, gently remove any loose brick or mortar particles from the drilled area. This prevents accumulation, which could lead to further wear or damage.
- Vacuum the Surroundings: Brick dust can be quite fine and may spread beyond the immediate drilling area. Using a vacuum ensures that even the tiniest particles are removed.
- Wipe with a Damp Cloth: For any stubborn stains or particles, a damp cloth can be used to clean the brick surface gently. Ensure the area is dried immediately after to prevent any water damage or staining.
Tool Maintenance
- Clean the Drill and Bit: Just as you cleaned the bit after drilling, ensure the entire drill is free from dust and debris. This prolongs the life of the tool and maintains its efficiency.
- Check for Wear: After a drilling task, especially into hard materials like brick, it’s good practice to inspect your drill and bit for any signs of wear or damage.
- Store Properly: Always store power tools in a cool, dry place, ideally in their original cases or tool bags. This protects them from potential damage or moisture exposure.
Sealing the hole (if necessary)
- Use Sealant: If the drilled hole is meant to be sealed, use a suitable brick or masonry sealant. This prevents moisture ingress and fortifies the structure.
- Protect the Surrounding Area: When applying sealant or any other chemical, protect the surrounding brick area to prevent unintentional staining or damage.
Regular Inspection
- Check for Cracks: Over time, the drilled area might experience stress, leading to small cracks. Regularly inspect and, if needed, reseal or refill to maintain the structural integrity.
Wrapping up your drilling task with proper cleanup and maintenance ensures the longevity of both the brickwork and your power tools. A little time invested in post-drilling care goes a long way in preserving the quality of your work and the tools that made it possible.
Conclusion
Drilling into brick without the correct instrument, such as a hammer drill, may be difficult, particularly for novice DIYers. But, ideally, you’ve learned how to drill into brick without a hammer drill in a more efficient and straightforward manner.
So, keep the safety parameters in mind, be patient, and carefully follow the procedures. Finally, but certainly not least, you will find your desired hole in the rack without the need for a hammer drill.