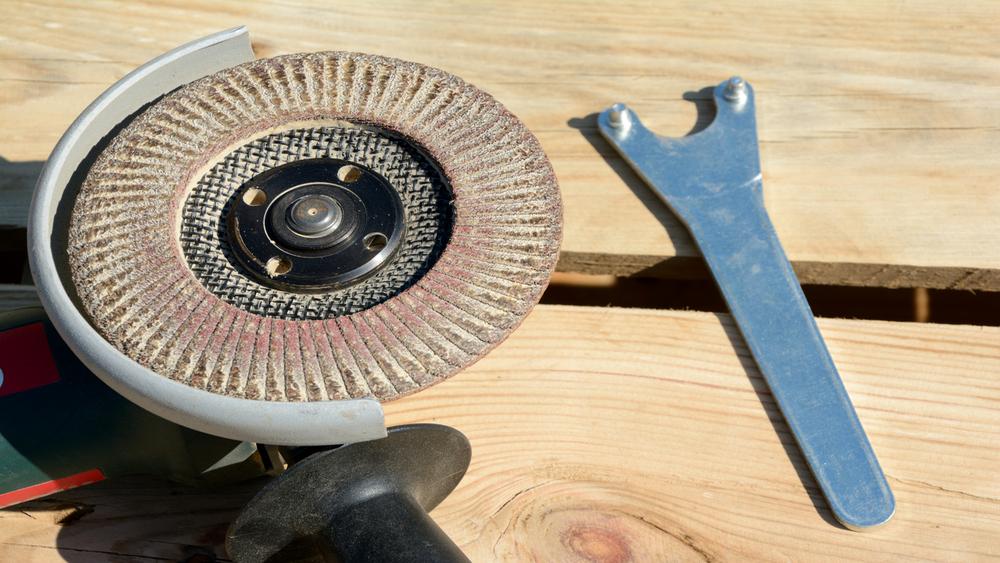
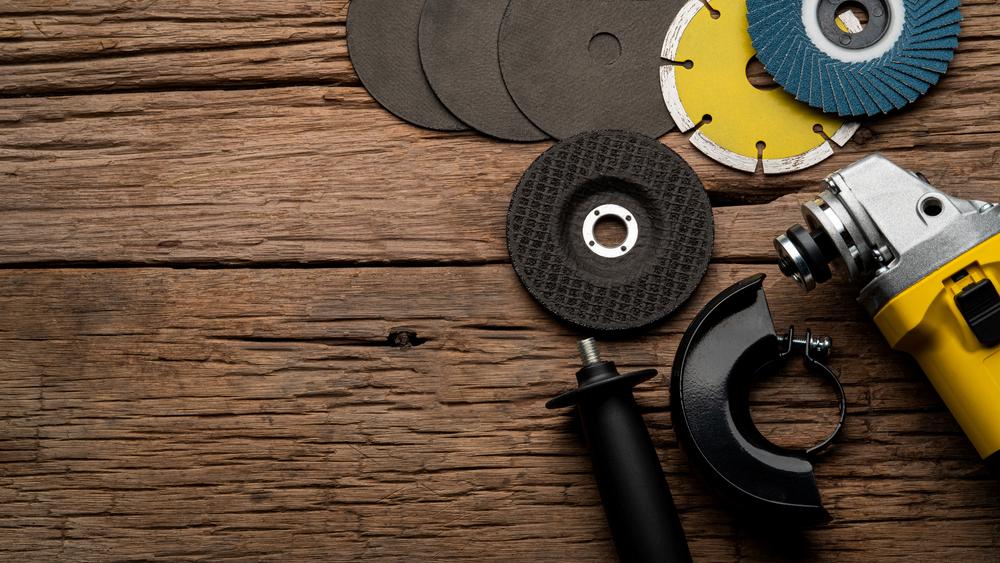
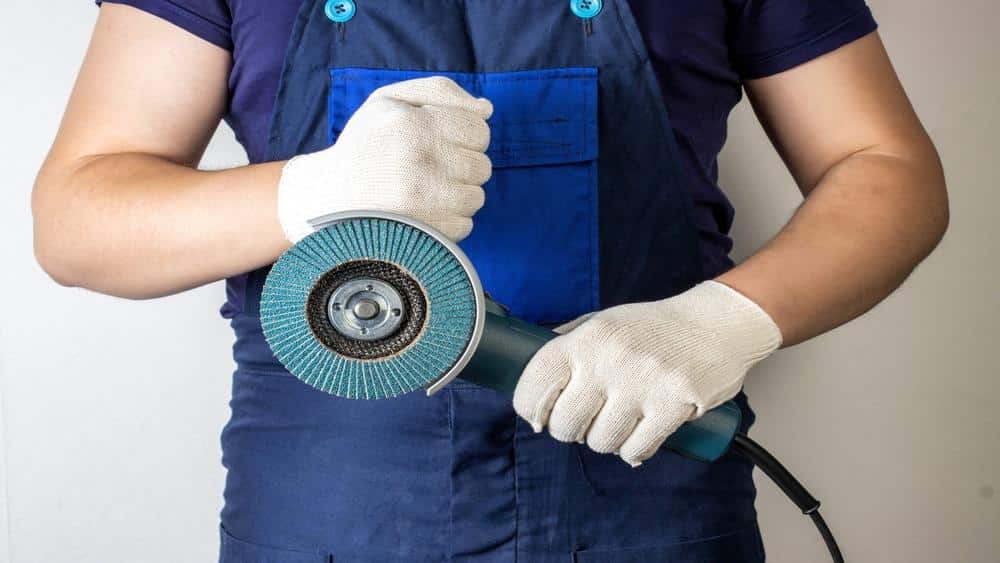
An angle grinder is an incredibly versatile tool commonly used in metalworking and construction. Sometimes, you may need to change the disc on your grinder, but lacking the necessary key or tool. This How to remove angle grinder disc without tool, guide will walk you through the steps of safely and effectively removing an angle grinder disc without a tool using common household items. Safety is paramount when handling any power tool, so ensure you take the appropriate precautions before proceeding.

1. Why would you need to remove a disc?
There are several reasons you might need to remove a disc from your angle grinder.
- First and foremost, discs can wear out over time due to continuous use and will thus need replacing.
- Second, different jobs require different types of discs. You’ll need to switch out your current disc for one that’s more suitable if you’re moving from cutting metal to, say, grinding concrete.
- Lastly, sometimes your disc may get damaged or jammed, in which case it would need immediate replacing to ensure safe and effective operation of your angle grinder.
Safety concerns
Before you begin the process of removing the disc from your angle grinder, it’s crucial to consider several safety aspects. Always disconnect the power supply before starting to prevent accidental startup. If your grinder is cordless, remove the battery. Don’t forget to wear appropriate safety gear, including gloves and protective eyewear to shield yourself from potential flying debris. It’s also recommended to work in a well-lit area to clearly see what you’re doing. Lastly, never force a disc off the grinder; if it doesn’t come off easily, it may be threaded and require a different removal method. Remember, your safety is paramount.

2. Step-by-Step Guide to Removing the Angle Grinder Disc
- Disconnect the Power Source: The first and most crucial step is to ensure your angle grinder is unplugged from the power source. If it is a cordless model, remove the battery.
- Lock the Spindle: Locate the spindle lock on your angle grinder. It is usually a button or a switch on the grinder’s body. Press or switch this lock to prevent the spindle from rotating.
- Loosen the Retaining Nut or Flange: With the spindle locked, use an adjustable wrench, a Channellock pliers, or even a pair of vice grips to loosen the retaining nut or flange that holds the disc in place. Turn it in the opposite direction to which the disc rotates.
- Remove the Disc: Once the nut or flange is loose, you should be able to easily remove the disc from the grinder by simply lifting it off the spindle.
- Inspect the Grinder: Before installing a new disc, take a moment to inspect your grinder. Check the spindle and the inner and outer flanges for any signs of wear or damage.
Please remember that these steps can vary slightly depending on the specific model of your angle grinder. Always refer to your owner’s manual if you are unsure.
3. Switching to a different disc
Once you have safely removed the old disc, it’s time to install the new one. Line up the hole in the center of the disc with the spindle on the grinder. Once it’s positioned correctly, press it firmly onto the grinder. Some models of angle grinders may have a locking mechanism that you will need to engage at this point.
For models without a locking mechanism, you will need to keep the disc pressed against the grinder while you screw the retaining nut or flange back onto the spindle. Tighten it with your hand initially and then use a wrench or pliers to secure it further, but be sure not to over tighten as this could damage the disc. Once the disc is securely attached, you can reconnect the power supply or insert the battery. Remember to test the grinder in a safe space, away from any potential hazards, before you start working to ensure the disc is installed correctly.
Got an Angle Grinder ready to go? Dive into our article on ‘How To Cut 1/4 Inch Steel Plate‘ for expert guidance!

Safety Precautions
The Safety Precautions section is crucial when handling power tools. Always ensure:
- Proper attire: Wear snug fitting clothing that will not get caught in the grinder. Jewelry and loose clothing can pose a hazard and should not be worn. Long hair should be tied back.
- Goggles and gloves: Always wear safety goggles to protect your eyes from flying debris. Heavy-duty gloves are also advised to protect your hands from sharp edges on the disc and grinder.
- Secure the workpiece: Make certain that whatever you are grinding or cutting is securely clamped or held firmly. A loose workpiece could unexpectedly move and cause an accident.
- Maintain your grinder: Regular maintenance of your angle grinder is key to safety. Always ensure it is in good, working condition before use. Regularly inspect the power cord, plug, and actual grinder for any damage.
- Proper disc storage: Store your discs in a safe, dry place to prevent damage. Never use a disc that is cracked or chipped, as it can break apart during use and cause injury.
- Ventilation: Always work in a well-ventilated area to prevent inhalation of dust or other particles.
- Never leave a running grinder unattended: Always switch off the grinder when not in use.
Remember, these precautions are designed to keep you safe. Ignoring them could result in serious injury.
4. Tips for Maintenance
Keeping your angle grinder in optimal condition is key to ensuring its longevity and efficiency. Here are some tips for maintaining your tool:
- Clean Regularly: After each use, clean your angle grinder to remove dust and debris. Particles can accumulate over time and affect the tool’s performance. Use a dry brush or compressed air for the best results.
- Inspect Discs Before Use: Always examine your discs for cracks or any other signs of damage before using. A damaged disc can result in inefficient performance and could be dangerous.
- Lubricate Occasionally: Certain parts of your grinder, like the gears, may require periodic lubrication to function smoothly. Check your user manual for specific recommendations.
- Tighten Loose Parts: Over time, parts of your grinder may become loose due to vibration during use. Ensure all parts are tight before each use.
- Replace Worn Parts: Regularly inspect your grinder for worn or damaged parts. If found, replace them immediately to maintain the grinder’s performance and safety.
- Store Properly: When not in use, store your angle grinder in a cool, dry place away from moisture and extreme temperatures.
Remember, proper maintenance not only extends the lifespan of your tool, but also ensures safety during operation. Always refer to your tool’s user manual for specific maintenance instructions.
5. Frequently Asked Questions (FAQs)
Q1: What type of disc should I use for metalwork?
A: For metalwork, it’s best to use a cut-off disc or a grinding disc, depending on the specific task. Cut-off discs are thin and used to cut through metal, while grinding discs are thicker and used to grind down or shape metal.
Q2: What safety equipment do I need when using an angle grinder?
A: It’s important to wear safety goggles to protect your eyes from flying debris and heavy-duty gloves to protect your hands from sharp edges on the disc and grinder. It’s also advisable to wear ear protection due to the high noise levels produced by the grinder.
Q3: How often should I clean my angle grinder?
A: It’s recommended to clean your angle grinder after each use to remove dust and debris that could affect its performance.
Q4: How do I know when to replace the disc on my angle grinder?
A: It’s time to replace the disc when it becomes worn or damaged. Signs of wear may include scratches, chipping, or cracks.
6. Conclusion
In conclusion, how to remove angle grinder disc without tool, proper use, regular maintenance, and safety precautions are critical to optimize the performance and longevity of your angle grinder. Always wear appropriate safety equipment, inspect your grinder regularly for any signs of wear or damage, and clean it after each use. With these steps in mind, you can ensure that your angle grinder will serve you well for many future projects. Refer to your tool’s user manual for specific instructions and information. Stay safe and happy grinding!