This article provides a comprehensive guide on how to sand a table with an electric sander. The article will explain the process step by step, outlining the necessary materials and precautions that must be taken. It will also provide tips for ensuring a smooth finish and recommendations on how to choose the right equipment. Following the instructions, you will find answers to frequently asked questions.
1. Introduction
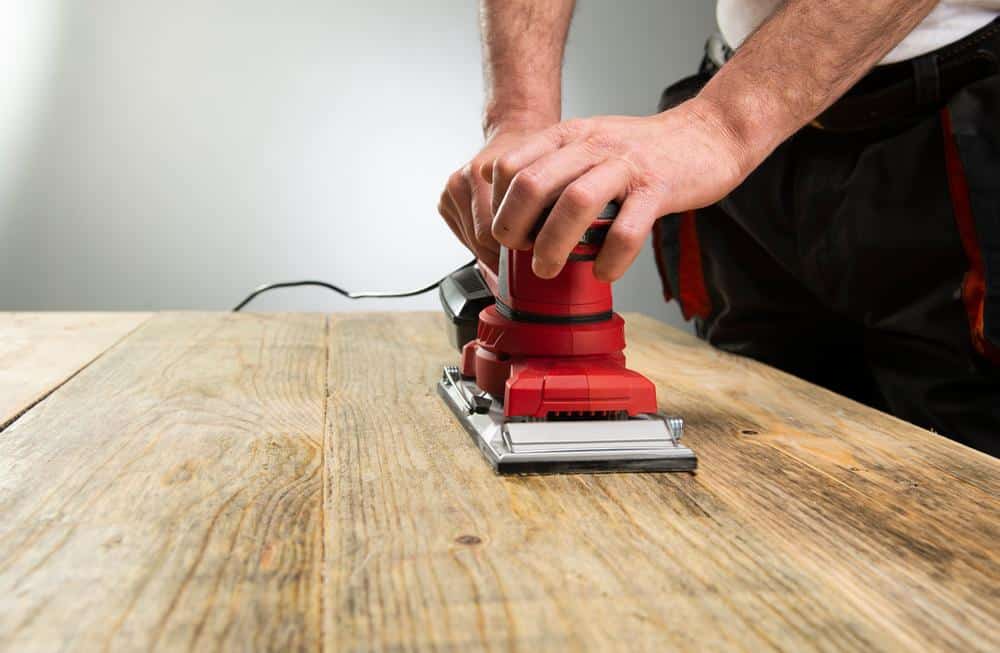
Restoring an old table can breathe new life into it and significantly enhance its appearance. One crucial step in this process is sanding. This article provides a step-by-step guide on how to sand a table with an electric sander.
2. Importance of Sanding a Table
Sanding a table not only helps to remove the old finish but also prepares the surface for a new one, enabling it to absorb the new stain or paint more effectively. Let’s see how you can do it!
3. How to Sand a Table with an Electric Sander
Necessary Equipment
List of Equipment
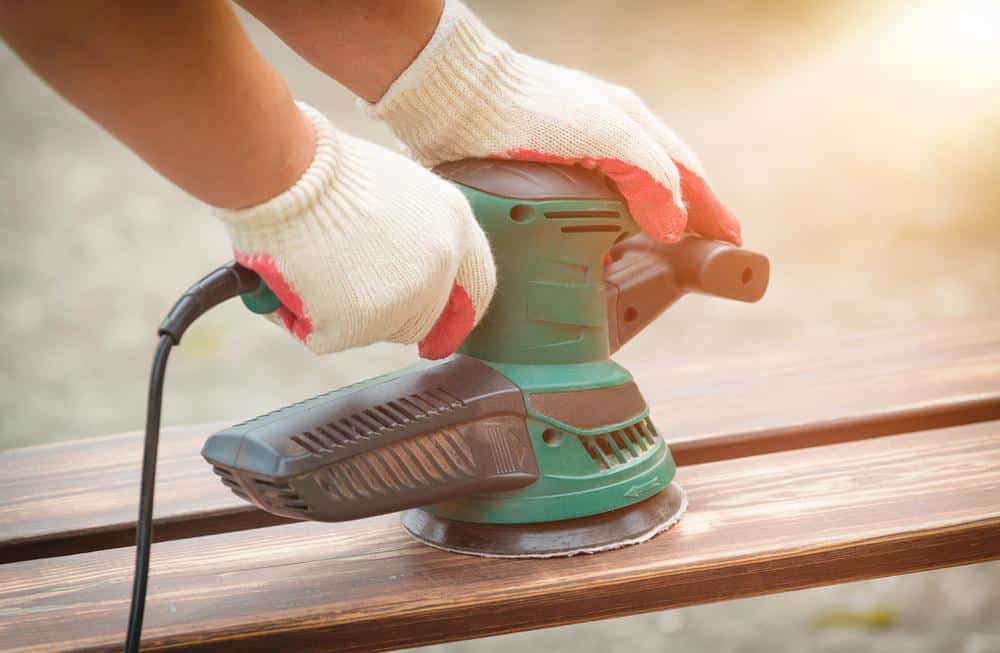
To send a table, you will need certain tools and materials. These include an electric sander, sandpaper of varying grits, gloves, a mask, a cleaning cloth, and a floor protector.
Where to Buy
These tools and materials are readily available in local hardware stores and online marketplaces.

4. Safety Precautions
Importance of Safety
Before starting your project, it is essential to prioritize safety. SandingSanding produces dust that can be harmful if inhaled.
Safety Measures
To safeguard yourself, always wear a mask and gloves. You may also want to wear safety glasses to protect your eyes from dust particles.
5. Preparing Your Work Area
Location
Choose an area with ample space to move around. This will make the sanding process easier and more efficient.
Ventilation
Ensure the area is well-ventilated, as sanding creates dust that can be harmful if accumulated in a closed space.
Cleaning the Area
Before you begin, clean your workspace to remove any dust or debris that may interfere with your sanding.

6. Choosing the Right Sandpaper
Types of Sandpaper
There are different types of sandpaper available. The type you choose depends on the current condition of the table and the desired result.
Grits of Sandpaper
Sandpaper comes in different grits. A lower number indicates a coarser grit, which can remove more material. Conversely, a higher number indicates a finer grit used for finishing touches.
7. Sanding the Table
Step-by-step Process
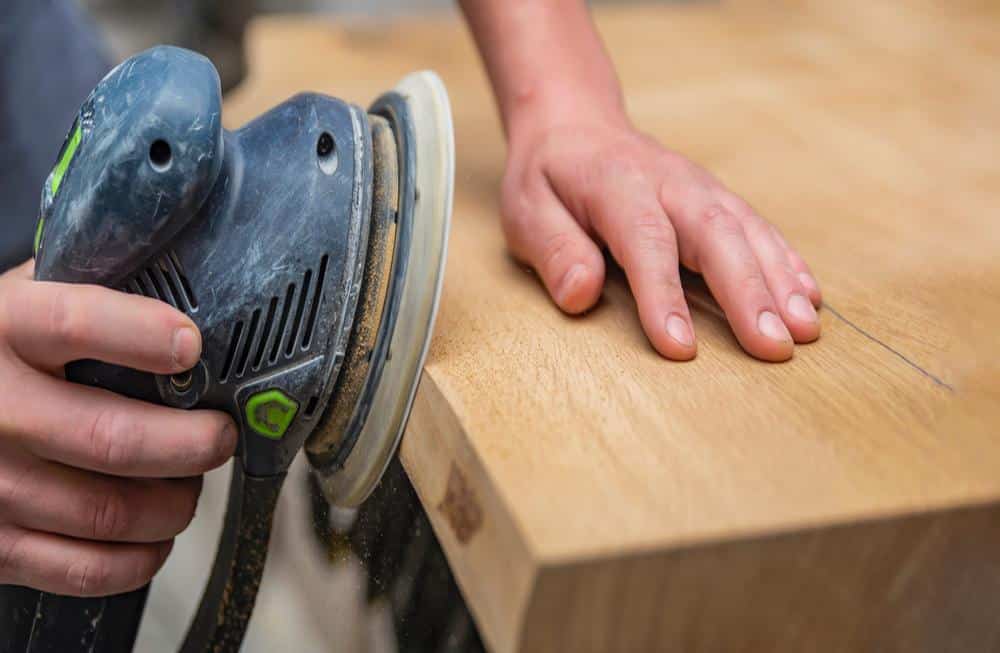
Start by sanding the table with a coarser grit to remove the existing finish. Then, use a finer grit to smooth the surface.
Tips for Sanding
Always sand in the direction of the wood grain to avoid scratches. Apply gentle pressure to prevent damaging the wood.
8. Finishing Touches
Applying Wood Stain
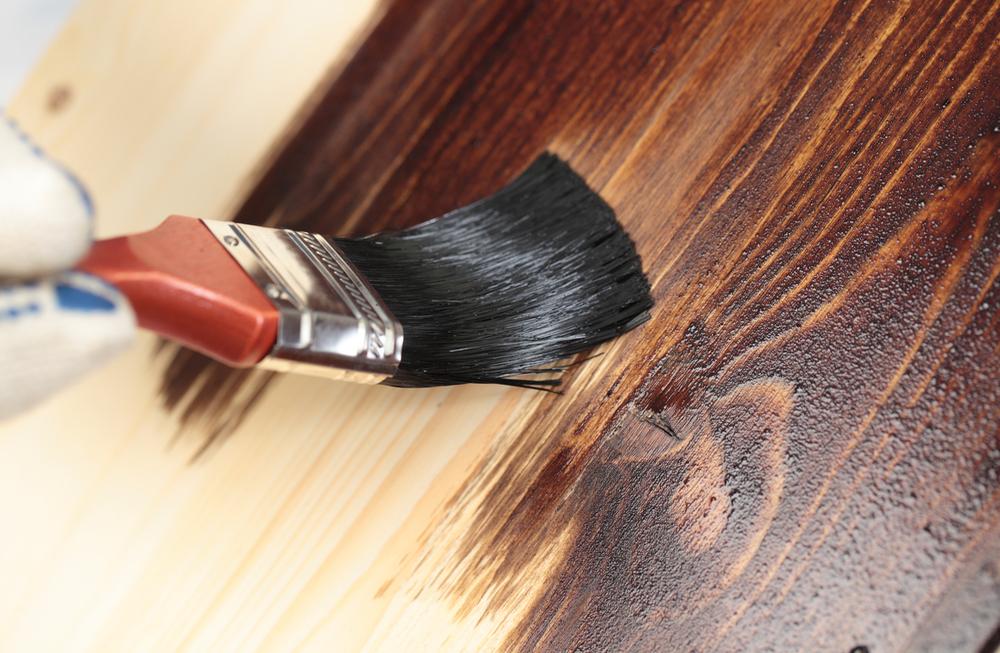
After sanding, apply a wood stain to enhance the color and grain of the wood.
Applying Clear Coat Sealer
For added protection, apply a clear coat sealer. This also gives the table a glossy finish.
9. Cleaning Up
Removing Dust
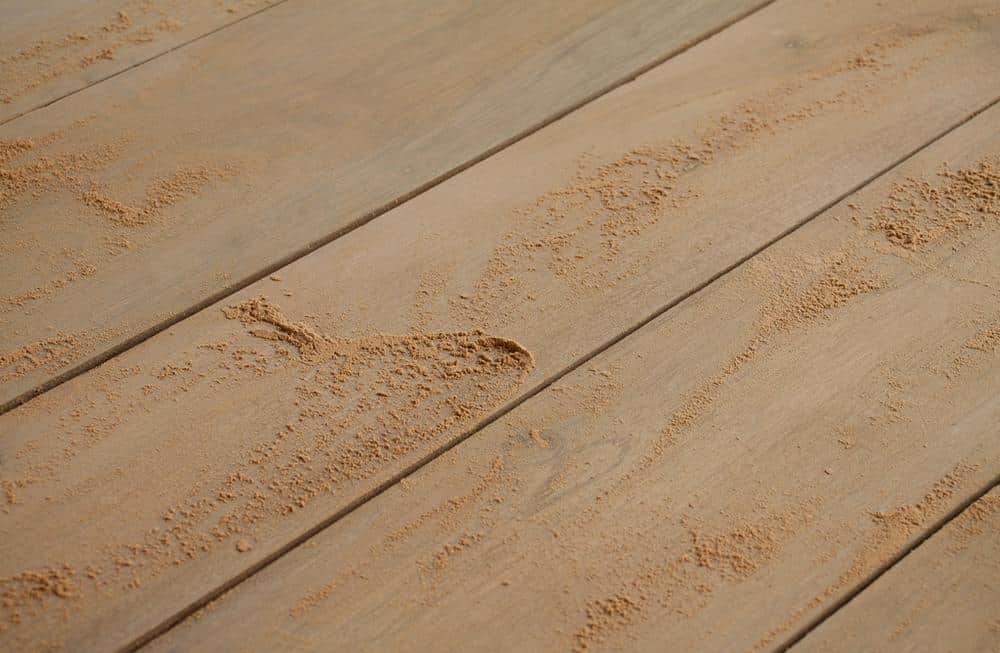
Use a cleaning cloth to remove dust from the table after sanding. A vacuum cleaner can also help remove dust from the surrounding area.
Proper Disposal
Ensure you dispose of the sanding dust properly, as it can be harmful if inhaled or if it comes into contact with skin.
10. FAQ (Frequently Asked Questions)
What kind of sander do I need to sand a table?
There are several types of sanders that you can use to sand a table. However, the specific choice often depends on the size of the project, the table’s material, and the desired finish. A random orbital sander is often recommended for sanding tables because it provides a super-fine finish, ideal for subsequent staining or painting. On the other hand, palm sanders are quite user-friendly and affordable, making them suitable for removing paint or distressing furniture.
Can I use an electric sander on furniture?
Electric sanders are not only compatible with furniture. However, they can make the task more efficient and comfortable, saving time and effort. It’s important, however, to learn how to use these devices properly and to maintain safety precautions like wearing protective gear to mitigate dust and noise generated during the process.
Is an electric sander better than hand sanding?
Whether an electric sander is better than hand sanding depends on the specific circumstances. Electric sanders provide a more efficient and quicker sanding experience, which can be especially beneficial for larger projects. Hand sanding may be quieter, neater, and can offer more control, particularly for delicate tasks or smaller, intricate surfaces.
Is sanding by hand better than a sander?
Sanding by hand can be better in certain situations, especially when working on small, delicate surfaces or intricate designs requiring more control. Hand sanding is quieter and neater, and it may pose less risk of accidentally damaging the surface being worked on. However, it can be more time-consuming and labor-intensive compared to using an electric sander.
What is the disadvantage of a sander?
While sanders are generally efficient and effective tools for many sanding tasks, they have drawbacks. They can be more expensive than manual sanding equipment, require a learning curve to use properly, and generate dust and noise that can be disruptive and pose health risks if not properly managed. Additionally, they may need to be more suitable for delicate tasks or intricate designs where hand sanding could offer better control.
Do you wash furniture after sanding?
After sanding furniture, removing the dust and particles produced is crucial before proceeding with any subsequent treatments like staining or painting. This is typically done by wiping the surface with a tack or damp cloth rather than washing. Wetting the wood too much could raise the grain and undo some of the smoothness achieved by sanding. Remember always to follow the manufacturer’s instructions when cleaning products on your freshly sanded furniture to avoid damage.
11. Conclusion
In conclusion, how to sand a table with an electric sander, Sanding a table with an electric sander is easier than it may seem. You can rejuvenate your table and enhance its appearance with the right tools, safety measures, and patience.