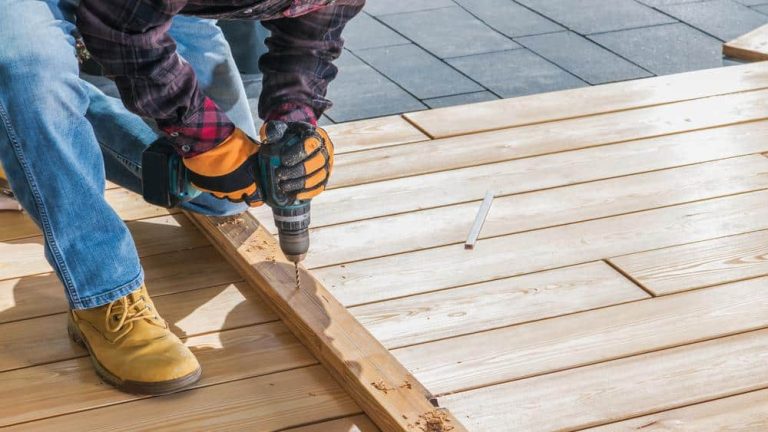
Drilling is a common task in many DIY projects and professional applications. Whether you’re a seasoned professional or a novice, knowing how to remove a drill bit from a Dewalt drill is essential. In this article, we’ll guide you step-by-step on how to safely and easily remove a drill bit from a Dewalt drill, along with some helpful tips and maintenance advice.

1. Understanding the Basics of a Drill Bit and Dewalt Drill
What is a drill bit?
A drill bit is a cylindrical cutting tool used with a drill to create holes of different sizes and shapes in materials. It is typically made of high-speed steel or carbide and features a sharp point, flutes, or grooves for chip removal.
What is a Dewalt drill?
Dewalt drills are power tools manufactured by Dewalt, a renowned company in the tool industry. Dewalt drills are known for their durability, performance, and innovative features, making them popular among professionals and DIY enthusiasts.
How do drill bits attach to a Dewalt drill?
Dewalt drills typically use a keyless chuck system, which allows for quick and easy bit changes without additional tools. The chuck is the drill part that holds the drill bit in place. You can secure or remove the drill bit by tightening or releasing the chuck.
What are the parts of the Dewalt drill?
You now understand the fundamentals of a drill, such as the best drill for a job, how to use and store drill bits, etc.
To learn how to replace drill bits, you must first know the different parts of a drill. Among them are:
- The Chuck: The chuck is part of the drill nearest to the drill bit’s “most important” attachment. The drill bit is held in position by a mechanism. Although it resembles a clamp, the bit spins when the drill’s trigger is pressed.
- Chuck Key: This is a key-like tool. It loosens the jaws once in the chuck, making the drill bit easier to clean. You’ll need this tool to tighten the chuck when a new drill bit is inserted.
- Trigger: To spin the drill bit and chuck, just press the trigger.
- Jaws: Jaws are the clamps that hold the drill bits steady as the chuck rotates. The chuck holds them. If the drill is slipping and not properly fastened, then it is likely that the tool is not securely fitted and that it may break soon.
2. Gather Necessary Tools and Equipment
Before you begin, it’s important to have the right tools and equipment on hand. Here’s what you’ll need:
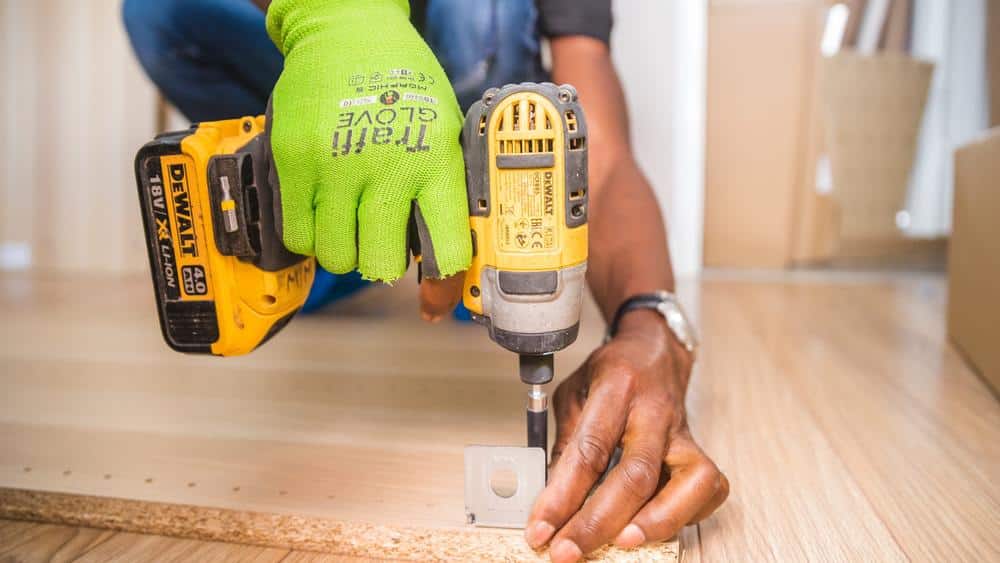
- Your Dewalt drill: Ensure it’s powered off and disconnected from the power source (unplugged for corded drills or with the battery removed for cordless models).
- The drill bit you want to remove: Make sure you have a clear idea of which drill bit you need to take out.
- Workspace: Find a clean, well-lit area to work in. Adequate lighting and a clutter-free workspace are essential for a smooth process.
3. Identify the Dewalt Drill Model
Dewalt offers a variety of drill models, each with its unique features and chuck types. Identifying your specific Dewalt drill model is crucial because the method for removing a drill bit may vary based on the type of chuck it uses. Look for the model information, usually located on a label or tag on the drill body or handle. Knowing your drill model will help you follow the correct removal procedure, whether it has a keyed chuck or a keyless chuck.
By starting with these two steps, you’ll be well-prepared to safely and effectively remove a drill bit from your Dewalt drill without any complications. In the subsequent sections, we’ll delve into the step-by-step process tailored to your specific drill type, ensuring a smooth and damage-free operation.
4. Safety Precautions Before Removing a Drill Bit
Before attempting to remove a drill bit from a Dewalt drill, it’s crucial to prioritize safety. Taking the necessary precautions can prevent accidents and injuries. Here are some safety measures to follow:
Power off the drill
Before removing the drill bit, ensure that the drill is powered off and unplugged. This eliminates the risk of accidental starts or the drill unexpectedly turning on during removal.
Wear protective gear
Always wear appropriate protective gear, such as safety glasses and work gloves, to protect your eyes and hands from debris and potential accidents.

5. Guide to Remove a Drill Bit with a chuck key
If your Dewalt drill is equipped with a chuck key, follow these steps to remove a drill bit:
Step 1: Release the chuck
Insert the chuck key into the holes on the chuck and rotate it counterclockwise to loosen the chuck jaws.
Step 2: Turn the chuck counterclockwise
With the chuck jaws released, continue turning the chuck counterclockwise by hand until the drill bit is loose and can be easily removed.
Step 3: Remove the drill bit
Once the drill bit is loose, simply pull it out of the chuck.
Step 4: Finishing touch
It’s important to have a solid hold when you tighten the chuck again. Don’t want it to fall out or be misplaced.
6. Guide to Remove a Drill Bit without a chuck key
If you don’t have a chuck key or misplaced it, you can still remove a drill bit using the following method:
Step 1: Release the chuck
Firmly hold the drill’s handle to prevent it from rotating, and use your other hand to hold the chuck.
Step 2: Turn the chuck counterclockwise
With a steady grip, rotate it counterclockwise by hand. Apply firm and steady pressure until the chuck loosens and the drill bit becomes free.
Step 3: Remove the drill bit
Once the chuck is loose, gently pull the drill bit out of the chuck.
Step 4: Twist the Ratcheting Mechanism
You can use a ratcheting mechanism in your keyless drill to trigger the drill by rotating it counterclockwise (to the right).
By following these step-by-step instructions, you’ll be able to safely and effectively remove a drill bit from your Dewalt drill, whether it has a keyed or keyless chuck. Proper drill bit removal not only ensures the longevity of your tools but also contributes to a safer and more efficient drilling experience.
7. Troubleshooting Tips
Stuck on the drill bit
If the drill bit is stuck and doesn’t easily come out, try the following steps:
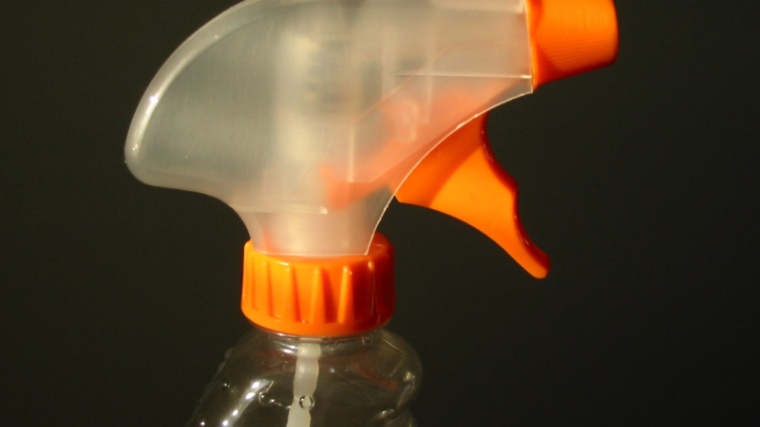
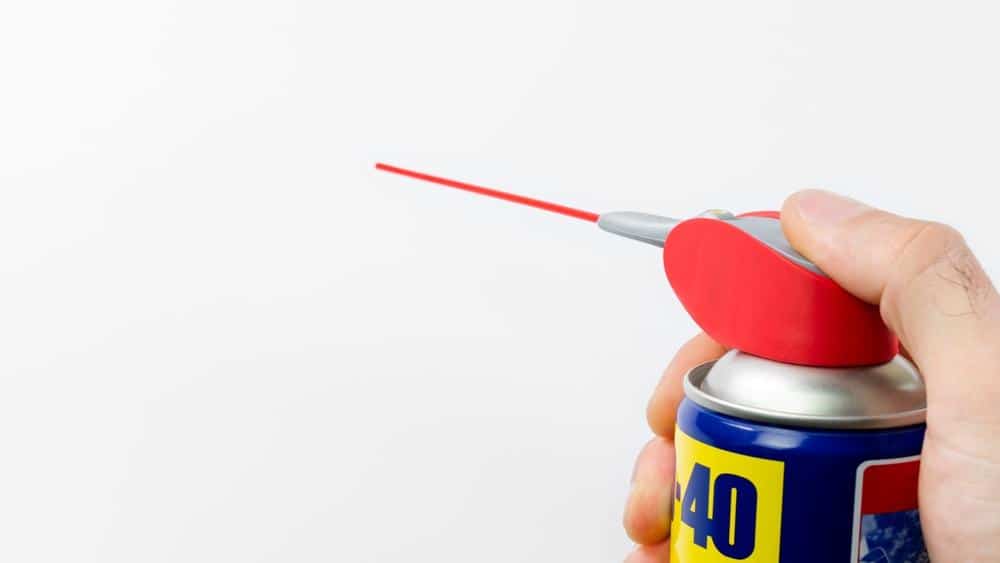
- Apply penetrating oil: Apply a few drops of penetrating oil, such as WD-40, to the area where the drill bit enters the chuck. Allow the oil to penetrate for a few minutes to help loosen rust or debris.
- Tap the chuck: Lightly tap the chuck with a rubber mallet or a block of wood while holding the drill upright. This can help dislodge any stuck drill bits.
Rusty or corroded chuck
If the chuck is rusty or corroded, it may impede the removal of the drill bit. In such cases, consider the following steps:
- Apply rust dissolver: Apply a rust-dissolving solution, such as naval jelly or rust remover, to the rusted areas of the chuck. Follow the manufacturer’s instructions and allow the solution to work for the recommended time.
- Clean and lubricate the chuck: Clean the chuck thoroughly using a brush or cloth after removing the rust. Apply a small amount of lubricating oil, such as machine oil or silicone lubricant, to the chuck to prevent future rusting and ensure smooth operation.
8. Maintenance and Care for Your Drill and Drill Bits
To keep your Dewalt drill and drill bits in optimal condition, follow these maintenance and care tips:
- Cleaning the chuck: Regularly clean the chuck to remove debris, dust, and residue. Use a brush or cloth to remove any build-up affecting the chuck’s gripping ability.
- Lubricating the chuck: Apply a small amount of lubricating oil, such as machine oil or silicone lubricant, to the chuck periodically. This helps prevent rust and ensures smooth operation.
- Storing drill bits properly: Store your drill bits in a clean and dry location, preferably in a dedicated case or organizer. This prevents them from getting lost or damaged and makes finding the right drill bit easier when needed.
8. What if the Dewalt drill chuck won’t release?
If your Dewalt cordless drill chuck won’t open, the following simple drill bit changing step could go wrong. Although Dewalt is a name, many people trust to provide high-quality tools for their home projects.
But what if a Dewalt cordless drill chuck is stuck or broken? So what should you do? After learning how to remove the Dewalt drill chuck, you can complete your work.
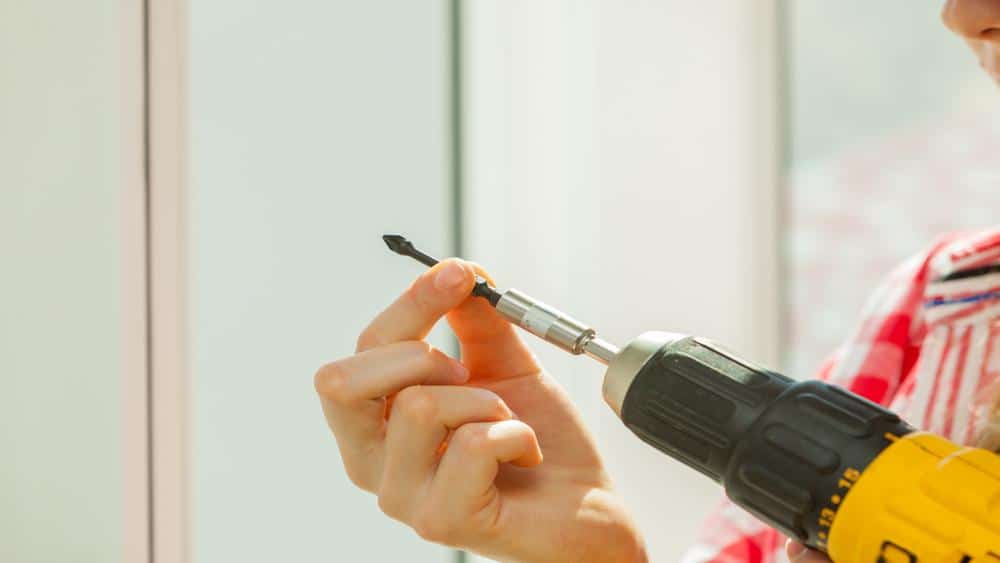
Step 1: Loose Screw(keyed chuck)
- A loose screw might be the cause of your cordless drill’s chuck not being able to open. This is within the drill chuck where the screw is being inserted.
- It prevents the teeth from moving if it is misplaced or loose. With little movement, the drill is unable to perform its duties.
Step 2: Tighten The Screw
You need to find a screwdriver that fits the kind of screw within the drill chuck. The screwdriver can then be inserted into the drill hole. There are a few steps you need to take.
- First, spin the screwdriver in the opposite(counterclockwise) direction, just a few times, until it loosens.
- Second, spin the screwdriver in the opposite direction a few more times until it gets tight.
- Finally, check to see if the teeth have caught, and if they have, they should be ready for use.
Step 3: Lose the chuck(Keyless Chuck)
In this situation, no tool is required to release the chuck.
- Hold the drill with one hand and the chuck with the other.
- The jaws will become accessible by turning the chuck counterclockwise. Some drills feature a button that you may pull to release the drill bit.
- If your drill has this feature, you can find instructions on using it in the owner’s manual. Assemble the chuck, keeping your fingertips away from the drill bit.
- Pull the trigger to remove the drill bit.
Step 1: Tighten the Jaws
- Keep your chuck in one hand. Tighten the chuck by rotating clockwise. Ensure it’s tight enough to stop the drill bit from wobbling.
- If your drill has a trigger, use it to tighten the chuck. Set the trigger to the desired position and pull gently to tighten the jaws.
9. Don’t let your Dewalt drill chuck jam! Use these hacks
If you’re not careful, your Dewalt drill chuck may end up jamming. Luckily, there are some things you can do to prevent this. The tips below will help you keep your drill in the game:
Right use
Inexperienced drillers might not always know how a drill chuck works. Not understanding it may force you to shut the chuck or feel it won’t open.
A DeWalt drill has two components:
- The black portion is used to adjust or remove the drill chuck.
- The yellow region is used to open and shut the drill chuck.
If you pull the yellow part while holding the black portion, and it still won’t open, you may need to apply more effort.
Tips for Right use
Channel-lock pliers or a pipe wrench may be used to turn the yellow portion of the Chuck instead of spinning it.
They can grab the yellow portion and turn it to the left with a little extra force.
Turn the yellow portion to open the drill chuck with more power.
Remove rust
Your drill will become filthy if you use it often. Sap, water, and other sticky materials may damage the drill chuck.
Moisture, in particular, may corrode and gummy it. As a consequence, the drill chuck struggles to open and close.
Tips for Remove rust
Spraying WD-40 on your drill chuck will make it less sticky, rusty, and gummy. Liquid spray lubricates. It also prevents rust and removes moisture.
It may clean not only the chuck but also eliminate it. The WD-40 will also help keep the chuck from rusting.
Jaws rust
The jaws of your chuck are one of the first things to examine. Corrosion may cause them to not open. The jaws grip the drill bit in the chuck. A rusty bit won’t open or release.
Tips for Jaws rust
Again first, you should spray the jaws with WD-40. WD-40 may help eliminate some of the rust that keeps them closed.
The spray can also help prevent future rust growth. Then pound the jaws with a wooden mallet. Gently touching each jaw forces it open.
Grip Slips
Some cordless drills include a chuck-side grip. The drill might make the grip move slowly. The grip will eventually reach the chuck’s base.
It prevents the chuck from turning when it slides there. So the chuck won’t open. It just rotates the chuck’s head and does not allow you to turn it to open the jaws.
Tips for Grip Slips
Forcing the base to turn again using a strap wrench. First, reverse the drill. Then attach the strap wrench. Gently squeeze the trigger.
The drill and strap wrench will open the chuck. It forces the chuck open, separating the grip from the base.
If you aren’t getting results, increase the drill’s torque settings. Still, gently squeeze the trigger to open the chuck.
Discover the detailed guide on removing a cordless drill chuck in our article “How To Remove Cordless Drill Chuck: Unveiling 3 Easy Methods.” Expand your knowledge and master the process with step-by-step instructions.
10. Tips and tricks for removing a drill bit from a Dewalt drill
Here are some pointers on how to remove a drill bit from a Dewalt drill:
- Before trying to remove the drill bit, ensure that the drill is disconnected, and the battery is removed.
- To loosen the chuck, spin it counterclockwise with the chuck key that came with your drill.
- Once the chuck is free, gently remove the drill bit from the chuck using your fingers or a pair of pliers.
- If the drill bit becomes jammed in the chuck, try hammering the end of the drill bit with a rubber mallet to free it.
- If the drill bit still did not come out, try holding the end of the drill bit with needle-nose pliers and gently twisting it to loosen it from the chuck.
- After removing the drill bit, clean the chuck and the inside of the drill to eliminate any dirt or dust that has accumulated.
- To avoid rust and corrosion, keep your drill and drill bits dry and away from moisture.
- Before operating the drill again, make sure the chuck jaws are correctly closed and tightened.
- If the drill bit is worn or broken, it is preferable to replace it for optimum performance and safety.
11. Maintenance and Care for Your Drill and Drill Bits
Here are some Dewalt drill maintenance guidelines for replacing a drill bit:
- Maintain a clean and debris-free chuck. After each usage, wipe it off with a dry towel and use a brush or compressed air to remove any dust or debris from the interior of the chuck.
- To maintain the drill working smoothly, lubricate the chuck and the interior of the drill with a few drops of oil.
- Examine the chuck jaws for signs of wear or damage. They may not grasp the drill bit firmly if they are worn or broken, which can result in the drill bit being stuck or breaking loose during operation.
- Always use the correct size and type of drill bit for the material being drilled. Using the incorrect drill bit might result in the drill bit becoming stuck or breaking.
- Before using a drill bit, inspect it. If the drill bit becomes worn or broken, it is preferable to replace it for optimum performance and safety.
- To avoid rust and corrosion, keep your drill and drill bits dry and away from moisture.
- Keep the drill battery charged and, if not in use for a long time, store it in a cool, dry area.
- To guarantee the best performance and safety, follow the manufacturer’s cleaning and maintenance recommendations.
- Check the drill’s manual and general condition on a regular basis; if anything appears strange or is not performing correctly, get it repaired by a professional.
Have you got a rusty drill bit? Head to our article “How to Remove Rust from Drill Bits: 5 Proven Ways Explained” for expert guidance. Don’t let rust slow you down!
12. Conclusion
In conclusion of How to Remove a Drill Bit From a Dewalt Drill, If you don’t know how to remove a bit from a Dewalt drill may be a time-consuming and challenging process.
Thankfully, the Dewalt drill bit removal process described above isn’t too difficult to follow, and we have broken it down step by step.
The Dewalt drill bit removal process is important to take into consideration if you’re using a drill for a project and end up losing a drill bit.