Plastic pots are famous for planting due to their lightweight and durable nature. However, drilling holes in them can be tricky if you need a drill or the proper equipment. But fear not, as there are several easy and effective ways to make holes in plastic pots without a drill. Whether you’re planting herbs, flowers, or vegetables, having proper drainage is crucial for healthy plant growth. In this article, we’ll explore how to make holes in plastic pots without a drill and some simple methods for creating drainage holes in your plastic pots using items you may already have around your home. So, let’s get started!

Introduction
Importance of Drainage in Potted Plants
Proper drainage is fundamental to the health and growth of plants in pots. Whether you’re cultivating vibrant flowers or lush greens, drainage plays a pivotal role in ensuring the plants don’t drown in excess water. Excessive moisture can lead to root rot, a condition where the roots become mushy and decayed due to prolonged exposure to stagnant water. A well-draining pot prevents this scenario, allowing excess water to escape and facilitating the exchange of air around the roots, promoting healthier growth and reducing the risk of diseases.
Why Go Drill-Free?
While power tools can make tasks swifter and more efficient, there are valid reasons one might seek alternatives when working with plastic pots. For starters, only some have access to or are comfortable using a drill. Safety concerns can arise, especially for those unfamiliar with using such tools. Furthermore, drilling can sometimes cause cracks in the plastic, particularly if the pot’s material is brittle or the wrong drill bit is used. Alternative methods, on the other hand, can offer more control precision and are often more accessible to a wider audience. Whether for practical reasons, personal preference, or simple convenience, various drill-free techniques are equally effective in achieving proper drainage.
When to make a hole in your plastic pot?
There are several reasons why you would wish to hole a plastic pot:
- Drainage: Because plastic pots do not normally contain drainage holes, if you wish to use them for plants that require well-drained soil, you will need to drill holes in the bottom of the pot to allow excess water to drain.
- Aeration: If you’re using a plastic pot for a container garden, you might want to poke holes in the edges to increase air circulation for your plants’ roots.
- Hanging: If you wish to hang your plastic pot, drill holes in the bottom or sides of the pot to support the hanger.
- Repotting: When repotting your plants from a smaller container to a larger one, you may need to drill holes in the bottom of the new pot for drainage and for the roots to grow through.
- Drainage and Aeration: Because some plants require special drainage and aeration conditions, you may need to drill holes in certain regions of the pot to suit these requirements.
How To Make Holes In Plastic Pots Without A Drill
Get Punchy with Plastic Pots: 8 Drill-Free Hole-Making Guide:
- Method 1: Punch Plier
- Method 2: Screwdriver method
- Method 3: X-Acto knife
- Method 4: Using a heated metal rod
- Method 5: Using a soldering iron
- Method 6: Using a can opener
- Method 7: Sewing needle and Pliers
- Method 8: Using a heated-up wire hanger

Method 1: Punch Plier
If you don’t have a drill, you can use a punch plier to make holes in plastic pots. Here’s a step-by-step guide:
Gather Materials
To use a punch plier to make holes, you’ll need a punch plier, pliers, a marker, and the material you want to make holes in.
- Mark the Spot: Using a marker, mark the area where you want to make the hole.
- Insert Material: Insert the material into the punch plier with the marked spot lined up with the punch.
- Apply Pressure: Squeeze the handles of the punch plier together to create a hole in the material. Keep the punch plier perpendicular to the material to create a clean cut.
- Repeat the Process: Repeat the process for all the holes you want to make.
- Cool Down the Punch Plier: Put it away safely once you’re finished using the punch plier.
Precautions
While using a punch plier can be an effective way to make holes, it’s essential to keep in mind the following precautions:
- Always wear gloves to protect your hands from cuts while handling the sharp punch plier.
- Use the punch plier in a well-lit area to avoid making mistakes and injuring yourself accidentally.
- Keep the punch pliers away from children and pets to prevent accidents.
- Please keep your fingers away from the punch to prevent cuts.
- Avoid using too much force when squeezing the handles of the punch plier to prevent damaging the material.
Following these steps and precautions, you can easily make holes in your material using a punch plier.

Method 2: Screwdriver method
Another way to make holes in plastic pots without a drill is to use a screwdriver. Here’s how you can do it:
Step-by-Step Guide
- Gather Materials: To use a screwdriver to make holes, you’ll need a screwdriver, pliers, a marker, and the material you want to make holes in.
- Mark the Spot: Using a marker, mark the area where you want to make the hole.
- Hold the Screwdriver: Hold the screwdriver perpendicular to the material, with the tip on the marked spot.
- Apply Pressure: Apply pressure and twist the screwdriver back and forth to create a hole in the material. Keep the screwdriver perpendicular to the material to create a clean cut.
- Repeat the Process: Repeat the process for all the holes you want to make.
- Cool Down the Screwdriver: Put it away safely once you use it.
Precautions
While using a screwdriver can be an effective way to make holes, it’s essential to keep in mind the following precautions:
- Always wear gloves to protect your hands from cuts while handling the sharp screwdriver.
- Use the screwdriver in a well-lit area to avoid accidentally making mistakes and injuring yourself.
- Keep the screwdriver away from children and pets to prevent accidents.
- Please keep your fingers away from the screwdriver’s tip when using it to prevent cuts.
- Avoid using too much force when twisting the screwdriver to prevent material damage.
Following these steps and precautions, you can easily make holes in your material using a screwdriver.

Method 3: X-Acto knife
If you don’t have access to a drill, an X-Acto knife can be a handy tool for making holes in plastic pots.
Step-by-Step Guide
- Gather Materials: To use an X-Acto knife to make holes, you’ll need an X-Acto knife, pliers, a marker, and the material you want to make holes in.
- Mark the Spot: Using a marker, mark the area where you want to make the hole.
- Hold the X-Acto Knife: Hold the knife perpendicular to the material, with the tip on the marked spot.
- Apply Pressure: Apply pressure and twist the X-Acto knife back and forth to create a hole in the material. Keep the knife perpendicular to the material to create a clean cut.
- Repeat the Process: Repeat the process for all the holes you want to make.
- Cool Down the X-Acto Knife: Once finished using the knife, put it away safely and let it cool down completely.
Precautions
While using an X-Acto knife can be an effective way to make holes, it’s essential to keep in mind the following precautions:
- Always wear gloves to protect your hands from cuts while handling the sharp X-Acto knife.
- Use the X-Acto knife in a well-lit area to avoid making mistakes and cutting yourself accidentally.
- Keep the X-Acto knife away from children and pets to prevent accidents.
- Store the X-Acto knife in a safe place when not in use to avoid injury.
- Keep your fingers away from the blade when using the X-Acto knife to prevent cuts.
- Following these steps and precautions, you can easily make precise holes in your material using an X-Acto knife.

Method 4: Using a heated metal rod
Making holes in materials such as wood or metal can be challenging if you need the right tools. However, using a heated metal rod can be an effective and easy way to make holes without purchasing specialized equipment. Here, we’ll guide you through heating up a metal rod, using it to make holes, and providing some essential precautions to ensure your safety.
Step-by-Step Guide
- Gather Materials: To use a heated metal rod for making holes, you’ll need a metal rod, a heat source, pliers, and the material you want to make holes in.
- Heat the Rod: Using the heat source, such as a propane torch or gas stove, heat the metal rod until it is red hot. Be careful not to overheat the rod, as this can cause it to become too soft or even melt.
- Position the Rod: Carefully position it over where you want to make a hole once it is hot. Use the pliers to hold onto the end of the rod and apply pressure to the material. The heat from the rod will melt through the material, creating a precise hole. If you need to make multiple holes, repeat the process.
- Cool Down the Rod: Once you’re finished using the rod, turn off the heat source and allow the rod to cool down completely before storing it away. Please do not touch the hot end of the rod, as it can cause severe burns.
Precautions
While using a heated metal rod can be an effective way to make holes, it’s essential to keep in mind the following precautions:
- Always wear gloves to protect your hands from burns while handling the heated metal rod.
- Keep the heated metal rod away from flammable materials and surfaces to avoid starting a fire.
- Use the heated metal rod in a well-ventilated area to avoid inhaling harmful fumes.
- Do not overheat the rod, as this can cause it to become too soft or even melt.

Method 5: Using a soldering iron
Using a soldering iron can be an effective method if you need to make small, precise holes in a material such as plastic or wood. Here, we’ll guide you through using a soldering iron to make holes and provide essential precautions to ensure your safety.
Step-by-Step Guide
- Gather Materials: To use a soldering iron to make holes, you’ll need a soldering iron, pliers, a marker, and the material you want to make holes in.
- Mark the Spot: Using a marker, mark the area where you want to make the hole.
- Heat the Soldering Iron: Turn on the soldering iron and let it heat up. This can take several minutes.
- Position the Soldering Iron: Carefully position it over the marked spot once the soldering iron is hot. Use the pliers to hold onto the end of the soldering iron and apply pressure to the material. The heat from the soldering iron will melt through the material, creating a precise hole. If you need to make multiple holes, repeat the process.
- Cool Down the Soldering Iron: Once you’re finished using the soldering iron, turn it off and allow it to cool down completely before storing it away. Please do not touch the hot end of the soldering iron, as it can cause severe burns.
Precautions
While using a soldering iron can be an effective way to make holes, it’s essential to keep in mind the following precautions:
- Always wear gloves to protect your hands from burns while handling the hot soldering iron.
- Use the soldering iron in a well-ventilated area to avoid inhaling harmful fumes.
- Keep the soldering iron away from flammable materials and surfaces to avoid starting a fire.
- Please do not touch the hot end of the soldering iron, as it can cause severe burns.
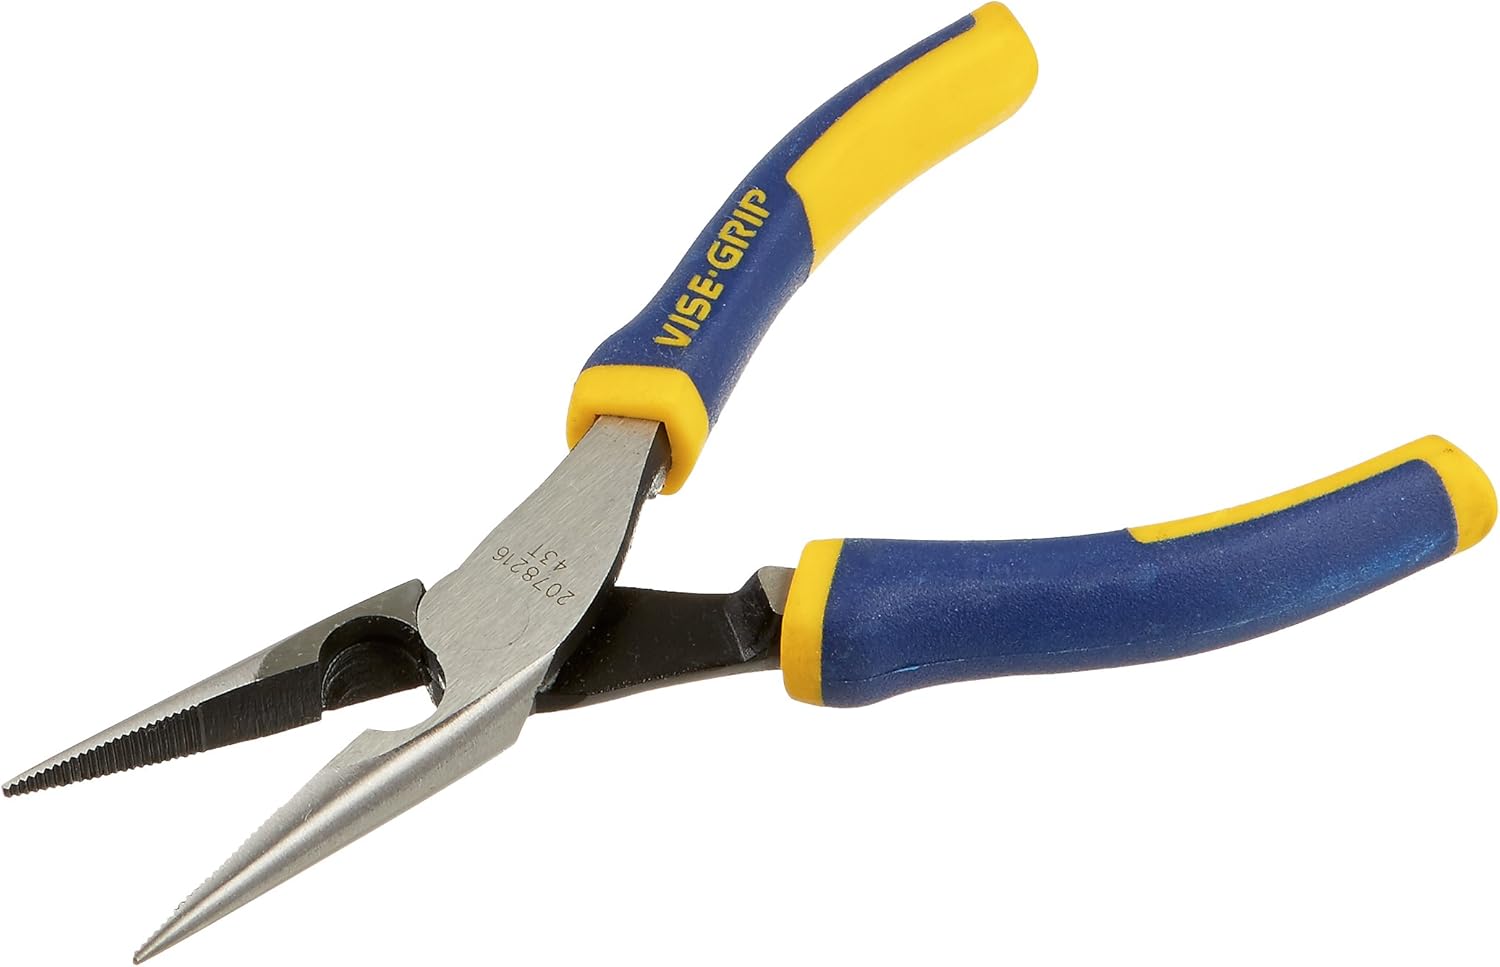
Method 6: Sewing needle and Pliers
A sewing needle and pliers are two common tools used in the art of sewing. The needle is typically used to fix stitches and shape cloth by pulling and pushing it.
The pliers are often used to pull and hold delicate material for cutting. Place the sewing needle in the teeth of the pliers.
Step-by-Step Guide
- Gather Materials: To use a sewing needle and pliers to make holes, you’ll need a sewing needle, pliers, a marker, and the material you want to make holes in.
- Mark the Spot: Using a marker, mark the area where you want to make the hole.
- Hold the Needle: Hold the sewing needle with the pliers, with the tip on the marked spot.
- Apply Pressure: Apply pressure and twist the needle back and forth to create a hole in the material. Keep the needle perpendicular to the material to create a clean cut.
- Repeat the Process: Repeat the process for all the holes you want to make.
- Cool Down the Needle: Put it away safely once you use the needle.
Precautions
While using a sewing needle and pliers can be an effective way to make holes, it’s essential to keep in mind the following precautions:
- Always wear gloves to protect your hands from cuts while handling the sharp needle.
- Use the needle in a well-lit area to avoid accidentally making mistakes and injuring yourself.
- Keep the needle and pliers away from children and pets to prevent accidents.
- Make sure to keep your fingers away from the tip of the needle when using it to prevent cuts.
- Avoid using too much force when twisting the needle to prevent material damage.
Following these steps and precautions, you can easily make holes in your material using a sewing needle and pliers.
Want to create perfect holes in plastic plastic without cracking it? Discover our foolproof methods and learn How to Make a Hole in Plastic Without Cracking It for seamless DIY gardening.
Ensuring the Right Number of Holes
Size and Quantity of Holes
The size and number of drainage holes are crucial for maintaining an ideal moisture level in the soil. Too few or too small holes can lead to waterlogged soil, while too many or overly large holes might cause the soil to dry out too quickly.
- Size: The size of the drainage holes should be large enough to allow excess water to escape but small enough to prevent large chunks of soil from being washed away. Typically, holes ranging from 1/4 to 1/2 inch in diameter are effective for most plastic pots. If you’re concerned about soil loss, placing a mesh or screen over the hole can help retain the soil while still allowing water drainage.
- Quantity: The number of drainage holes needed will vary based on the size of the pot. For smaller pots (up to 6 inches in diameter), one to three holes should suffice. For medium pots (6 to 10 inches), three to five holes are recommended. Larger pots (above 10 inches) may require more holes. However, it’s always essential to monitor the soil’s moisture level and adjust as necessary.
Arrangement for Optimal Drainage
Equally important to the size and quantity is the placement of the holes. They should be evenly spaced and located near the bottom of the pot. This allows for uniform drainage and helps prevent areas of stagnant water. If a pot is set on a flat surface, it can be beneficial to have holes placed slightly above the base to prevent water from pooling beneath the pot.
Benefits of Proper Drainage
Healthier Roots and Plants
Good drainage is paramount for root health. Roots need oxygen as much as they need water. A well-draining pot ensures that roots are not submerged in water for extended periods, preventing root rot and fungal infections. Furthermore, adequate drainage promotes oxygen exchange in the soil, which is vital for root respiration and nutrient absorption.
Preventing Overwatering
Overwatering is a common pitfall for many gardeners. While it’s essential to provide plants with adequate water, consistently soggy soil can be detrimental. Proper drainage helps mitigate the risks associated with overwatering by allowing excess water to escape. This not only protects the roots but also prevents issues like mold growth, pest infestations, and nutrient leaching. By ensuring that your pots have adequate drainage, you set the foundation for a thriving plant.
Frequently Asked Questions(FAQ)
Do You Need Holes In Your Plant Pots?
I find it upsetting that so many beautiful containers have no drainage holes. Poor drainage can lead to several potentially harmful problems, including root rot, mildew, and a terrible smell.
Why Are Drainage Holes So Important?
Drainage holes allow moisture to exit and prevent the accumulation of water in the plant’s roots. They’ll suffer from rot and fungal and bacterial afflictions without enough ventilation.
How to smooth the edges of a plastic hole?
I have found out that if you have a sharp edge on your sheet of plastic, there are plenty of tools that can help you get rid of that and make it smooth again. These tools include electric buffer, sandpaper and Scotch Brite pads varnish, and a metal file. These tools will smooth out your sharp edge and make it look new again.
How to clean a plastic drill when it becomes sticky?
Firstly, apply water and denatured alcohol to your plastic pot. Secondly, allow them to dry. After that, you can use talcum powder, cornstarch, or baking soda to clean the sticky plastic.
How many drainage holes in plastic pots?
You can add two or three extra drainage holes to the container if it’s made of a material that you can drill.
How to Make a Hole in Plastic Without Cracking It?
To make a hole in plastic without cracking, use a drill bit specifically designed for plastic and apply gradual pressure while drilling. Discover the secrets of how to make a hole in plastic without cracking it! Expand your knowledge by reading our insightful article on the topic. Learn more now!
Conclusion
I hope above mention methods will answer your question about how to make holes in plastic pots without a drill. One person may be tired of drilling holes into plastic pots and barrels and is ready to move on to something else. They might not know it is possible to drill plastic without using a drill and without much difficulty.