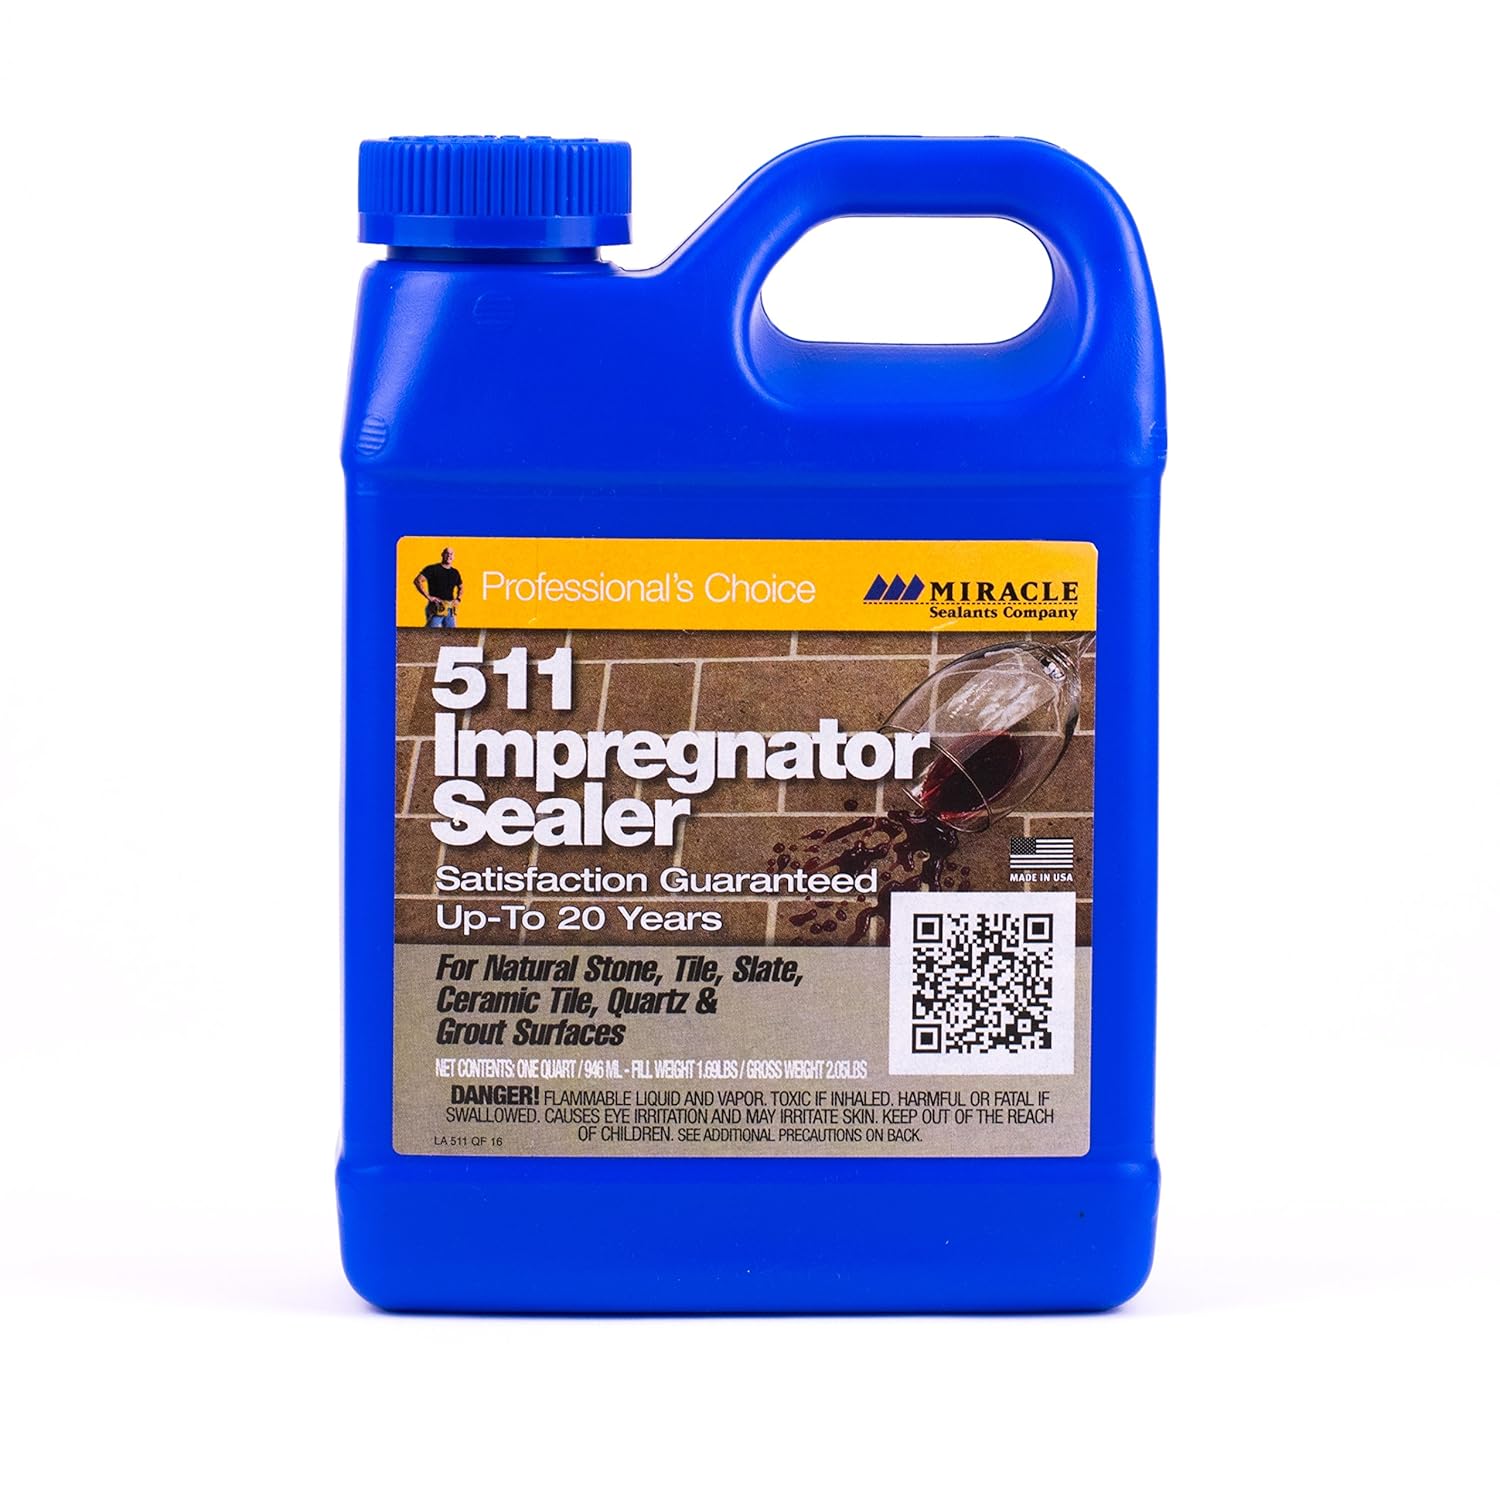
Are you tired of dealing with stained and discolored grout? Look no further than 511 Impregnator Sealer, a powerful solution for protecting and preserving your grout. In this guide, we’ll take you through applying 511 Impregnator Sealer to your grout, offering expert tips and step-by-step instructions on How To Apply 511 Impregnator Sealer To Grout along the way. Whether you’re a seasoned DIY-er or a complete novice, our guide will help you achieve a long-lasting, professional-quality finish that will make your grout look as good as new.
1. Introduction
Are you weary of staring at discolored or soiled grout in your bathroom or kitchen? 511 Impregnator Sealer might be the answer you’re searching for. This high-quality sealant protects your grout for a long time, making it more straightforward to clean and resistant to stains and discoloration.
This article will take you step by step through the procedure of putting 511 Impregnator Sealer on your grout. We’ll go through how to prepare your grout for sealing correctly, apply the sealer, and care for your freshly sealed grout.
This guide is for you whether you’re a seasoned DIYer or a first-time home renovation. Follow our tips and tactics to get a beautiful and long-lasting finish. Keep the aesthetic of your house the same; keep reading to discover how to apply the 511 Impregnator Sealer to your grout.
2. What is 511 Impregnator Sealer?
511 Impregnator Sealer is designed to protect medium to dense porous surfaces. It is a penetrating sealer that creates an invisible barrier that is resistant to moisture and stains and allows vapor to escape. Unlike surface coatings, 511 Impregnator does not alter the natural look of the treated surface. It provides water, stain, and slip protection for various materials such as granite, travertine, quartz, stucco, slate, terrazzo, glazed tile, ceramic tile, porcelain tile, polished granite, polished marble, sanded grout, and quarry tile.
The sealer is suitable for interior and exterior use and is UV transparent and weather-resistant. It offers superior coverage and is easy to use. It meets VOC (Volatile Organic Compound) requirements. The coverage of 511 Impregnator ranges from 500 to 4,000 square feet per gallon.
To apply the 511 Impregnator Sealer, the surface should be thoroughly cleaned and free from any coatings or residue. The sealer can be applied using a brush or clean, lint-free cloth. After applying the sealer, it should be allowed to stand for 3-5 minutes for full penetration. The excess liquid should be wiped off, and the surface should be buffed with a lint-free cloth. The sealer should be allowed to cure for 3-5 hours before light foot traffic, and for best results, the treated areas should be kept dry and free from staining agents for 72 hours.
Overall, the 511 Impregnator Sealer is a reliable product for protecting porous surfaces from moisture, stains, and slips while maintaining their natural appearance. It is widely used for various applications, including residential and commercial settings.
3. What is 511 impregnator sealer used for?
511 Impregnator Sealer is used for sealing and protecting various porous surfaces, including natural stone, tile, slate, ceramic, quartz, and grout. It is designed to create an invisible barrier that resists moisture, stains, oil, water, and weather. The sealer penetrates the surface and forms a protective layer without altering the material’s natural appearance. It acts as a stain-repellent barrier, providing long-lasting protection while allowing vapor to escape.
To use the 511 Impregnator Sealer, you can follow these general instructions:
- Ensure the surface is clean, dry, and free from any contaminants.
- Use a paintbrush to apply the sealer evenly on the desired surface, including grout lines.
- Allow the sealer to penetrate for 3-5 minutes to ensure maximum effectiveness.
- Wipe off any excess sealer with a clean towel before it dries. This step is particularly crucial for polished, glazed, and porcelain surfaces.
- For larger projects or when additional protection is desired, you can retreat the entire area, including the tile or stone surface, a second time.
- Let the sealer cure for 6 to 12 hours before continuing the grouting procedure.
It’s important to note that the drying time of the 511 Impregnator Sealer is typically 1 to 3 hours.
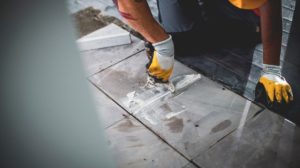
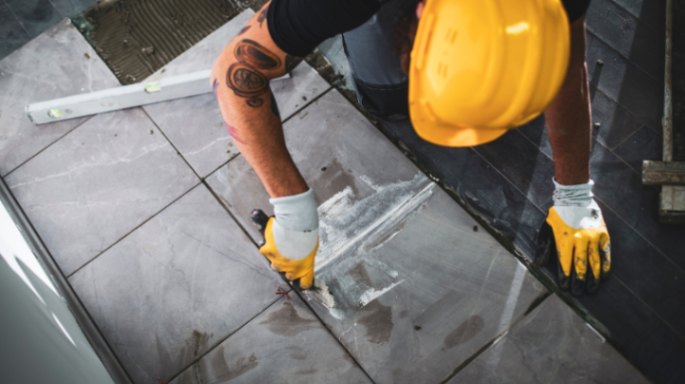
4. How to Apply 511 Impregnator Sealer To Grout?
Step I. Preparing for Sealing
It is critical to properly prepare the surface before adding 511 Impregnator Sealer to your grout. Preparation will ensure that the sealer adheres correctly, giving optimum protection and assuring the finish’s endurance.
Here are the supplies you will require:
- 511 Sealer Impregnator
- A cleanser for grout
- Scrubbing brush
- Grout sealant application tool
- A dry, lint-free cloth
- Plastic sheeting or painter’s tape
- Gloves and eye protection are required.
Step I
The first step in prepping your grout is to clean the surface. This will remove any debris, stains, or filth that may prevent the sealer from penetrating and adhering to the surface. Begin by scrubbing the grout with a brush after applying the grout cleanser to the surface. Follow the manufacturer’s directions for the cleaner you choose.
Step II
After washing the grout, thoroughly rinse it with clean water and let it dry fully. Before applying the sealant, ensure sure the grout is completely dry. The sealer may only adhere correctly if there is moisture present.
Apply a small quantity of sealer to the test area and wait 24 hours. Before starting to seal the whole surface, inspect for any discoloration or other concerns. If there are no problems, you may begin sealing the whole surface.
Here’s how you apply the grout sealer:
- Fill a container halfway with the sealer.
- Dip the applicator brush into the sealer and wipe away any excess.
- Begin at one corner of the surface and work your way across in a straight line, sealing the grout lines as you go.
- Apply the sealant to the grout in a slow, circular motion, being careful not to get any on the tile.
- Wipe away any excess sealer with a clean, lint-free cloth after applying the sealer to a small area.
- Work in tiny portions until the whole surface has been coated.
Step III
When the grout is dry, start applying the sealant. Protect any nearby surfaces with painter’s tape or plastic sheeting before proceeding. This will prevent any sealer from entering places you don’t want it to.
Step IV
Pour a little sealer onto the applicator and work it into the grout lines when ready to apply it. Apply the sealer in a thin, equal coating, taking care not to get any sealer on the tiles. Wipe away any extra sealer with a clean, lint-free cloth after application.
5. Tips for protecting surrounding surfaces
- When applying the sealant, cover any nearby surfaces, such as your worktops, cabinets, or flooring. Here are a few pointers to assist you in minimizing any unintentional damage:
- Use a drop cloth or plastic sheeting to protect any surrounding surfaces. Drop cloth helps guard against any drips or spills that may occur during sealing.
- Use painter’s tape to mask off any place where the sealer should not be applied. This includes the tile’s borders and any nearby surfaces you wish to remain sealer-free.
- Work in tiny portions; after each application, wipe away any extra sealer with a clean, lint-free cloth. This will keep the sealer from leaking on neighboring surfaces.
- If you get sealer on an adjacent surface, quickly wipe it away with a clean, wet cloth. Allowing the sealer to cure on the surface might make it harder to remove after it has solidified.
By taking these precautions to safeguard your surrounding surfaces, you may minimize inadvertent damage and assure the success of your sealing operation.
Preparing your grout correctly before applying the sealant helps provide a smooth and long-lasting finish. You can preserve your grout against further stains and discoloration with the correct products and procedures, leaving your house fresh and renewed for years to come.
6. Tips for avoiding common mistakes
You minimize common errors like leaving streaks or bubbles, be sure to use a grout sealant applicator. A foam brush or a paintbrush might be helpful for this. Apply the sealer in smooth, circular strokes, and avoid overloading the brush with the sealer.
When applying the sealer, it’s also necessary to operate in a well-ventilated location and to use gloves and eye protection. This will protect your skin and eyes from any irritation that the sealer may cause.
You’ll obtain a beautiful and long-lasting finish that protects your grout from stains and discoloration if you follow these procedures and take the time to apply the sealer correctly.
7. FAQs
I. What is the best way to clean grout before sealing?
Use a pH-neutral cleaner and a stiff-bristled brush to clean the grout before sealing. To avoid damaging the grout, avoid using strong chemicals or abrasive cleansers. Before applying the sealant, clean the grout with water and let it dry thoroughly.
II. Do I need to let the grout dry completely before applying the sealer?
Yes, letting the grout completely dry before applying the sealant is critical. This ensures that the sealer enters the grout effectively and offers enough protection. The time it takes for the grout to dry can vary depending on the temperature and humidity in the space, so be sure you follow the manufacturer’s guidelines.
III. How can I protect my tiles from sealer?
To protect your tiles from the sealer, use a protective material such as tape or plastic sheeting to cover them. This will prevent the sealer from getting on the tiles and damaging them. To prevent the sealer from clinging to the tiles, remove the protective layer as soon as possible after applying it. If any sealer gets on the tiles, wipe it away immediately with a clean, damp towel.
IV. How many coats to apply and how long to wait between coats?
It’s critical to use thin, uniform layers of sealer. Excessive sealer application may result in streaking and bubbling, which can be difficult to correct after the sealer has dried. You may need to apply additional applications depending on the state of your grout. A decent rule of thumb is to apply at least two coats, with at least 30 minutes in between. Specific suggestions should be found in the manufacturer’s instructions.
8. Conclusion
Finally, sealing your grout with a 511 Impregnator Sealer is an excellent method to preserve it against stains, mold, and mildew while making it simpler to clean and maintain. We’ve covered everything you need to know to correctly apply the sealer to your grout, including how to prepare for sealing, how to apply the sealer, and how to clean up and maintain your sealed grout, in this post.
By following the suggestions and directions in this article, you can produce a professional-looking finish while also protecting and maintaining your grout for years to come. Sealing your grout may seem to be a difficult chore. However, it can be a simple and gratifying endeavor with the correct equipment and procedures.
We hope this article has given you the knowledge you need to seal your grout using the 511 Impregnator Sealer effectively.