This is where you’ll save all of your easy DIY projects. You must learn how to utilize these tools appropriately in order for them to be useful.
Drills are mighty instruments that require some practice. If you want to become a good player, you need to master the techniques involving drills.
You must learn not only how to operate it but also how to change a drill bit without injuring yourself or causing damage to the bits. Learn how to safely remove and replace drill bits with this step-by-step instructional guide.
If you have trouble removing the DeWalt drill bit, you can check out our other article on how to remove a drill bit from a Dewalt drill.
1. What Is a Drill Bit?
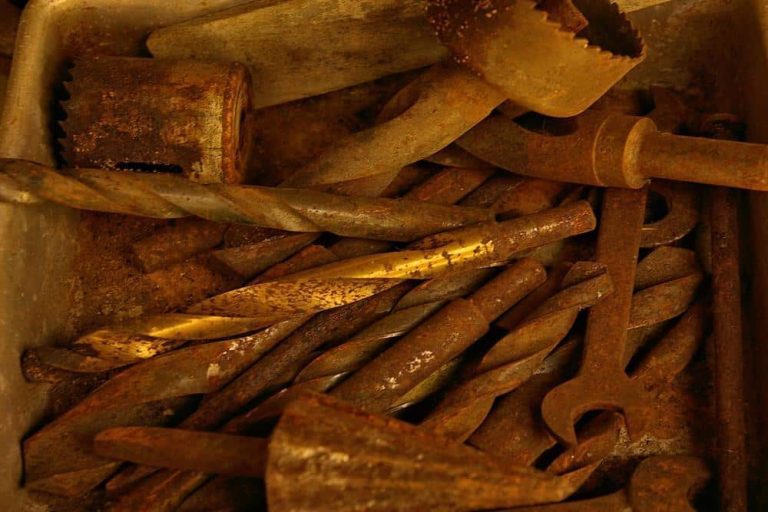
A drill bit is the rotating component of the drill that does the drilling in materials such as wood, metal, steel, or stone.
The drill bit is attached to the drill to create holes by rotation. Drill bits come in different shapes and sizes and can create different holes in a variety of materials.
By selecting the right drill bit, you can make holes in almost all types of materials because the drill bits are very hard.
The drill bit should be used correctly and sharpened from time to time.
2. What Type Of Drill Do You Have?
Before you replace the drill bit, you must know the type of drill you are dealing with. There are two types of drills, keyed drills, and keyless drills.
These drills require different methods to replace their drill bits.
3. Parts of a Drill
As of now, you know the basics of a drill, as the type of drill suitable for a particular project, how to use and store drill bits, etc.
The next but most important thing is now to understand the different parts of a drill we will mention while discussing how to change drill bits.
Some of those parts include:
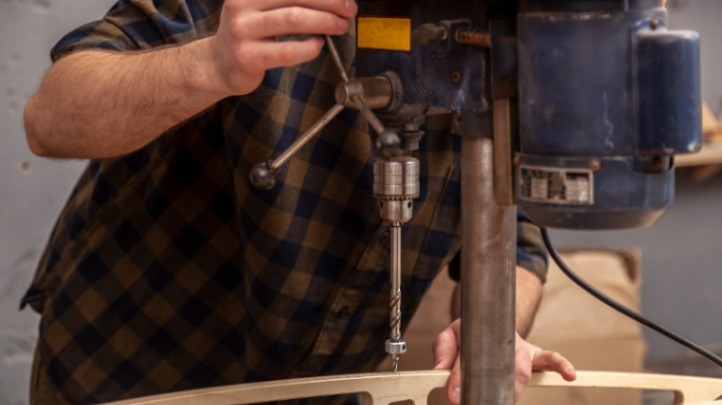
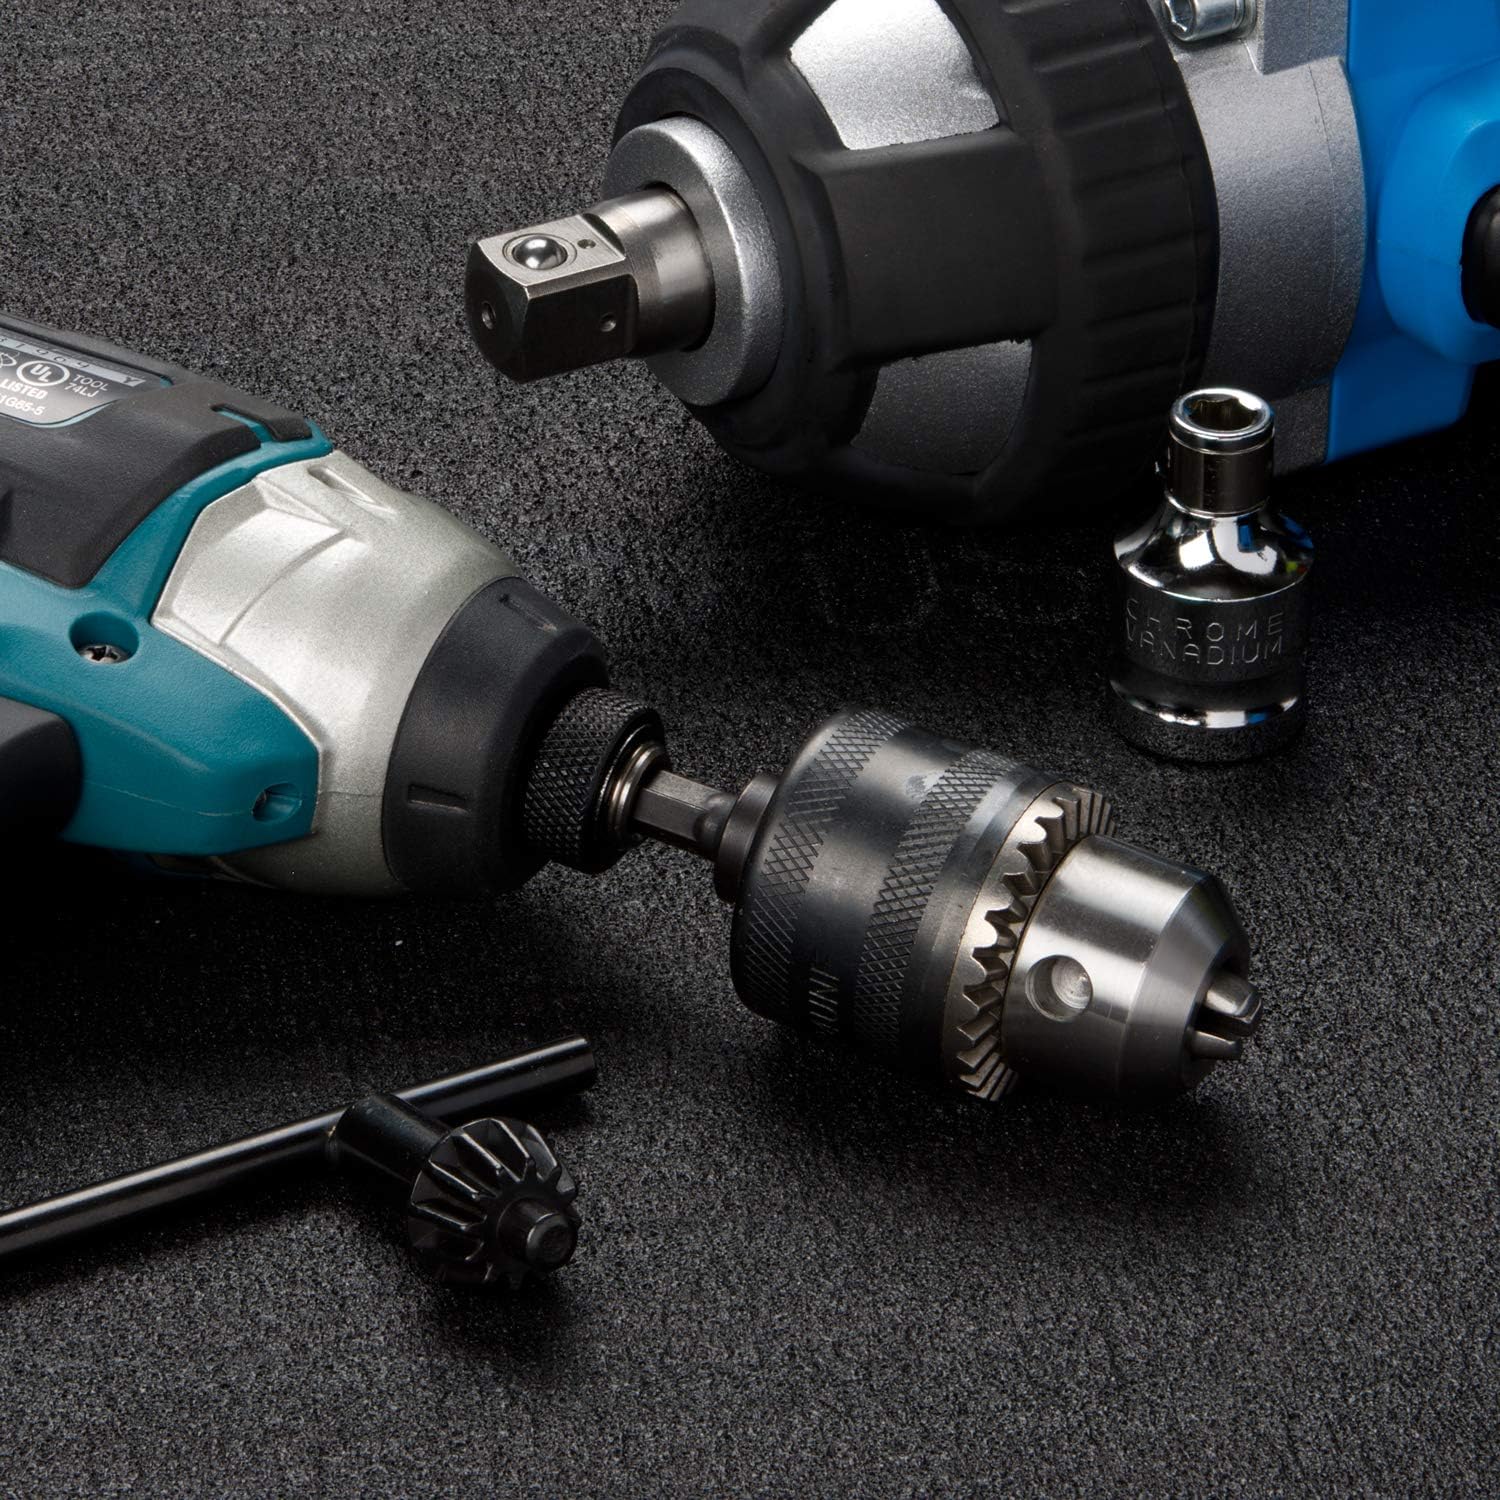
I. The Chuck
The chuck is that part of the drill that is closest to the drill bit. It has a mechanism that holds the drill bit in place.
It looks like a clamp, but it rotates as the drill’s trigger is pulled to turn the bit.
II. Chuck Key
This is a tool that looks like a key. When inserted into the chuck, it will loosen the jaws so the drill bit is easy to remove the dirt.
This tool is also necessary when you need to tighten the chuck after inserting a new drill bit.
III. Trigger
This is a mechanism on the drill that, when squeezed with a finger, will make the drill bit and the chuck rotate.
IV. Jaws
Jaws are the clamps that grasp the drill bits to keep them steady when the chuck is rotating.
They are contained within the chuck. If your drill bit sways, then it means the jaws are clamping it well.
V. keyed
If your drill has a keyed chuck, you’ll need a key-like tool to remove the drill bit and replace it.
The keyed mechanism keeps the drill bit in place, reducing the possibility of sliding and risking an accident.
VI. keyless
The keyless drills don’t require any tool that looks like a key; instead, you can just loosen the chuck, and the jaws will get unhinged so you can remove the drill bit.
Keyless drills have the advantage of not requiring a chuck key, which is the most significant advantage.
Therefore, you need not worry about losing it or looking for it whenever you need to exchange the drill bits.
However, remember that keyless drills are more expensive than keyed drills.
4. How to change a drill bit with chuck key
The keyed drills are more common than keyless drills. Not only are they safer to use than the keyed drills, but they are also good at keeping the drill bits safer.
Here are the steps you can change the drill bits in keyed drills:
I. Insert the chuck key
Some drills come with chuck keys that fit into the drills. Other drills have a place to store the keys while others don’t.
Hold the drill firmly then insert it in the keyhole. The teeth of the key are made such that it fits well into the keyhole in the chuck and fit snugly.
II. Turn the key
Once the key is well into the keyhole, turn it in an anticlockwise direction and it will loosen your chuck, as you rotate the key, you’ll see the chuck turning.
III. Remove the old drill bit
Once the chuck is loose, the drill bit may just fall off. To avoid injury, work on a bench so the drill bit can fall on the bench.
If the drill bit cannot fall off, you can pull it out gently using your index finger and thumb. Again, if it cannot come out, check whether you loosened the chuck.
If not, you may need to insert the key and rotate it once more.
IV. Insert the new bit
Allowing the jaws to remain open will allow you to insert a fresh drill bit after removing the old one.
Hold the new drill bit between your index finger and thumb, then slide its smooth part into the chuck. Choose a drill bit of the right size so it can slide in smoothly.
YouTube Video Credit: KJDOT
V. Tighten the chuck
Tighten the chuck by holding the drill with one hand and using your other hand. You should tighten the chuck is properly so the drill bit cannot fall off during use.
To tighten the chuck, insert the key, then turn it in a clockwise direction. Do so until you feel the chuck is tight enough.
Repeat this on all other keyholes if your drill has more than one keyhole.
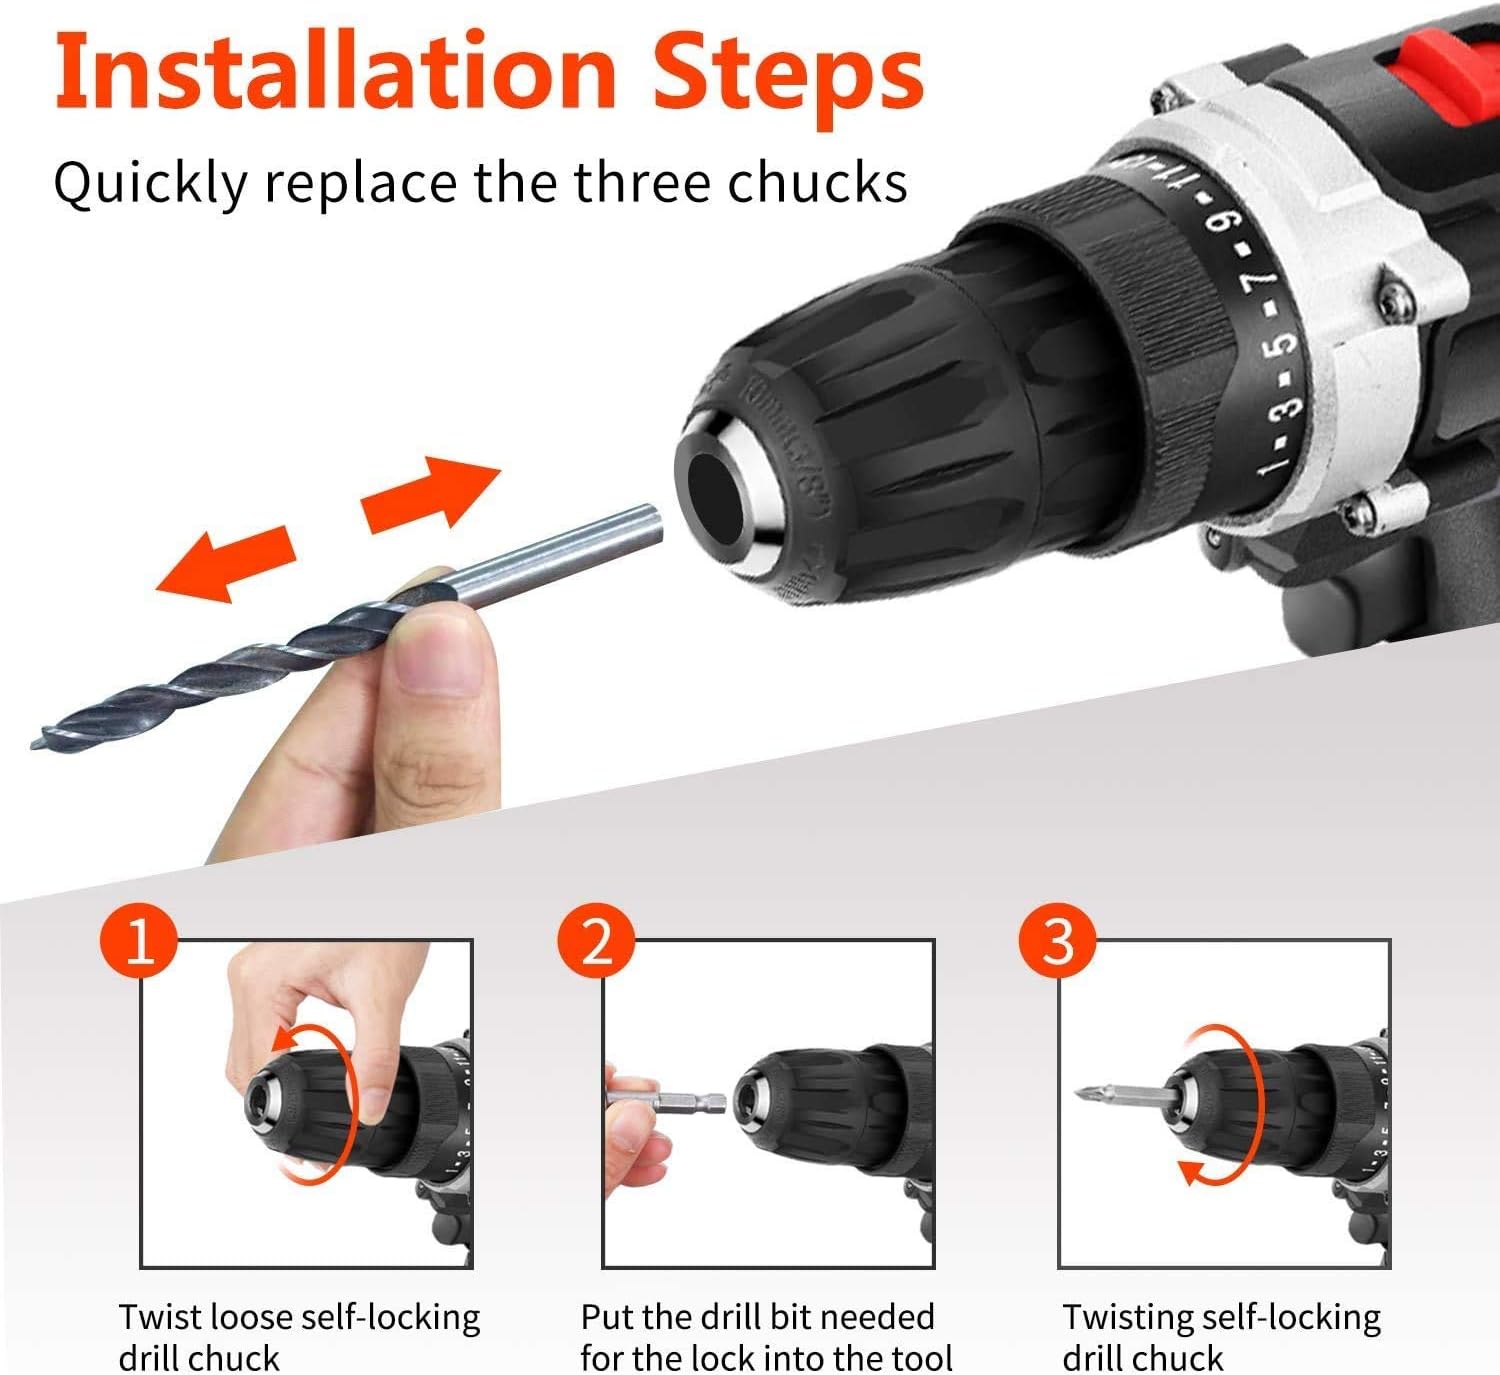
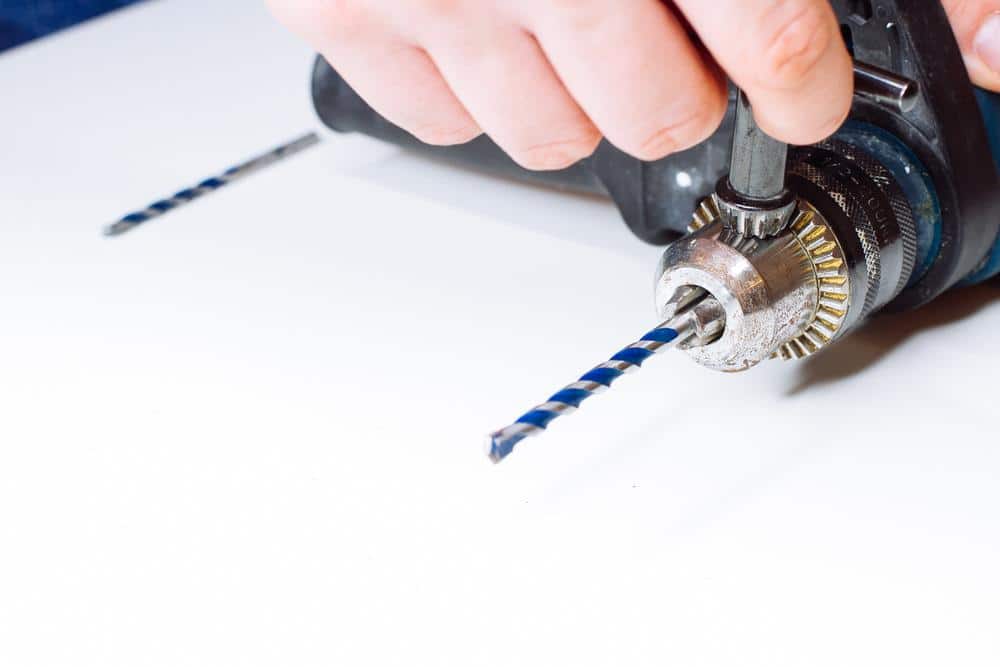
5. How to change a drill bit without a chuck key
It is easier to replace old drill bits in keyless drills than in keyed drills. Follow the steps below the replace an old drill bit in a keyless drill.
I. Loosen the chuck
You’ll not need any tool to loosen the chuck in this case. Just hold the drill in one hand, then grasp the chuck with the other hand.
Turn the chuck in an anticlockwise direction, and the jaws will become loose. Lift the jaws and remove the chuck.
Some drills have a switch on them can you can use to loosen the drill bit by pulling the trigger.
Check your drill if it has this option, if it has, you can read on the owner’s manual how to operate that mechanism.
Once you are set, hold the chuck, making sure your fingers are far from the drill bit. Pull the trigger, and the drill bit will become loose so you can remove it.
II. Remove the Drill Bit
The drill bit should come out on its own once the chuck is loosened. If not, you can apply some force to pull it out.
If it doesn’t come out, it means the chuck is not loose enough. Always work on a bench so that when the drill bit comes out & it doesn’t fall on the floor.
III. Insert the New Bit
Hold the drill in one hand and the drill bit in the other hand. Insert the drill bit into the chunk, ensuring that the smooth side of the drill bit enters the chuck.
It is good to have a drill bit of the same size as the one you removed. If the drill bit is smaller, you must tighten the jaws manually by rotating the chuck clockwise.
This helps in keeping the drill bit in place as you tighten the chuck. Remember to center the drill bit before you tighten the jaws.
IV. Tighten the Jaws
Hold your drill bit in one hand and the chuck in the other hand. Rotate it clockwise to tighten the chuck.
Ensure it is tight enough to prevent the drill bit from wobbling. If your drill has a trigger, you can use it to tighten the chuck.
Place the trigger on the correct setting then pull it slightly until the jaws hold the drill bit tightly.
V. Twist the Ratcheting Mechanism
If your keyless drill has a ratcheting mechanism, you can use it to activate the drill by twisting it clockwise.
The twisting mechanism provides additional security while you are holding the drill bit in place. It sits next to the chuck.
6. Conclusion
The more you change many drill bits, the easier the process will be. Learning how to change a drill bit is a continuous process that improves with more practice.
When dealing with modern drills, you’ll find the process to be a little easier, no matter the type of drill you are dealing with.
I hope this guide will prove helpful for you, whether you own a keyed or a keyless drill. The basic steps are the same for all kinds of drills.